A bench check for a bicycle dynamo light
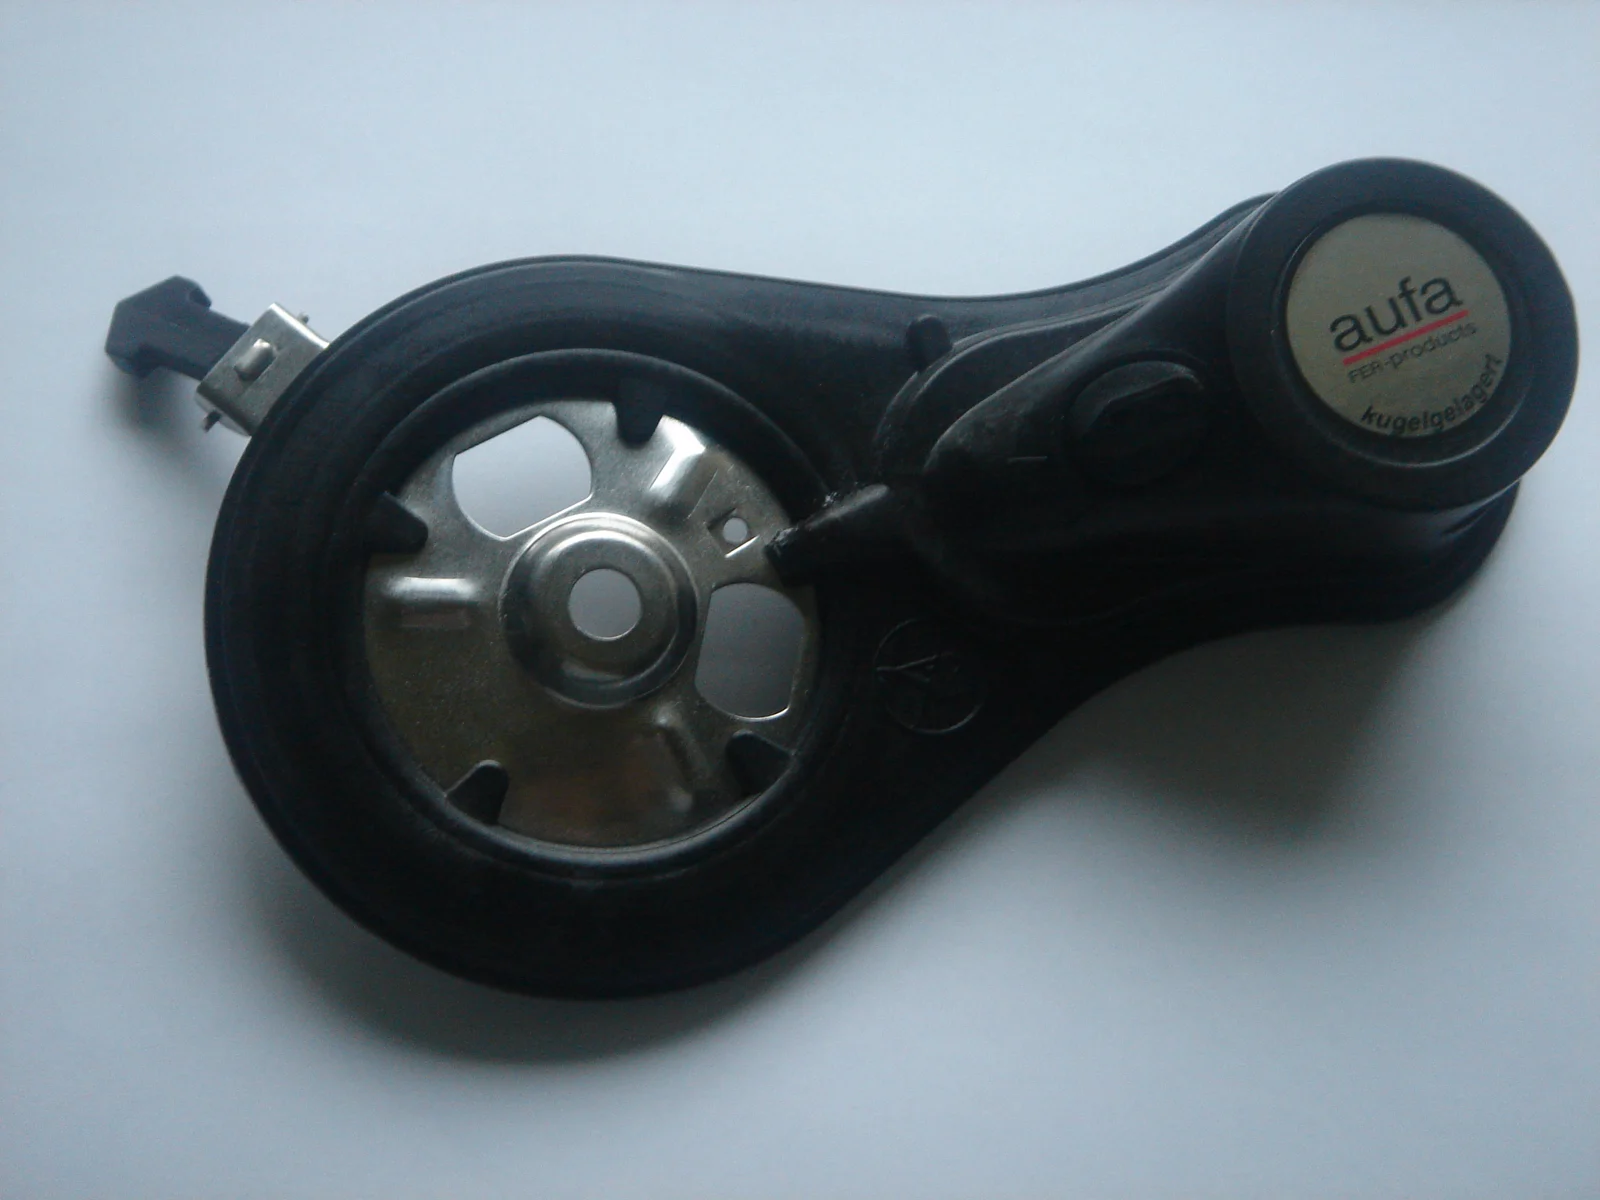
A documented inspection plan for a matching dynamo and lamp, without improvised battery charging or assumptions about unknown output voltages.
One dark headlight. Four possible repairs: lamp, wire, connector, or dynamo.
Identify the actual dynamo and matching lamp before touching the wiring. Bottle, spoke and hub systems have different mechanical arrangements; the photographs here show a spoke-driven unit. Check the manufacturer's mounting and electrical requirements.
With the wheel stopped, inspect cable routing, connectors and loose mounts. Record the symptom before changing anything. Then make one adjustment at a time.
Secure the bicycle in a suitable stand for testing. Keep fingers, clothing and meter leads out of moving parts. Follow the documented measurement procedure; do not guess an unloaded voltage from a nominal label.
This is not a charger project. Never connect a battery directly to the dynamo.
Finish with cable clearance and lamp security, not just a momentary flash of light. Have uncertain repairs checked by a qualified bicycle mechanic and use lighting appropriate to local riding requirements.
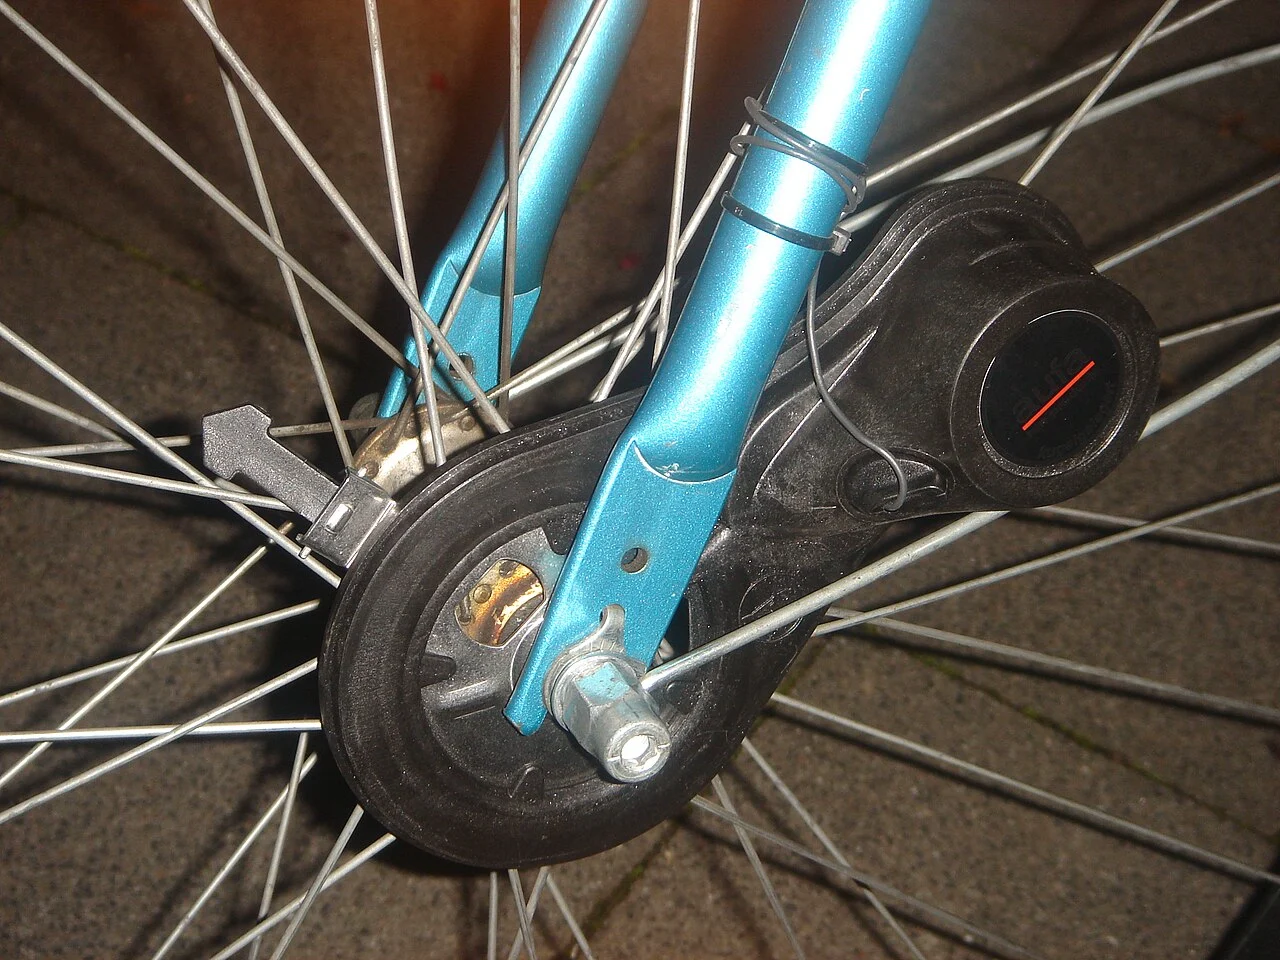
Materials
- Documented matching dynamo and lamp
- Appropriate bicycle stand
- Basic inspection tools
- Suitable meter only where the documented procedure calls for it
Build Steps
- 1
Identify the equipment
Check ratings and the manufacturer's wiring information.
- 2
Inspect stationary parts
Check mounts and connections with the wheel stopped.
- 3
Test and secure
Follow the documented test, then verify cable and lamp security.