A cyanotype contact frame that keeps the paper still
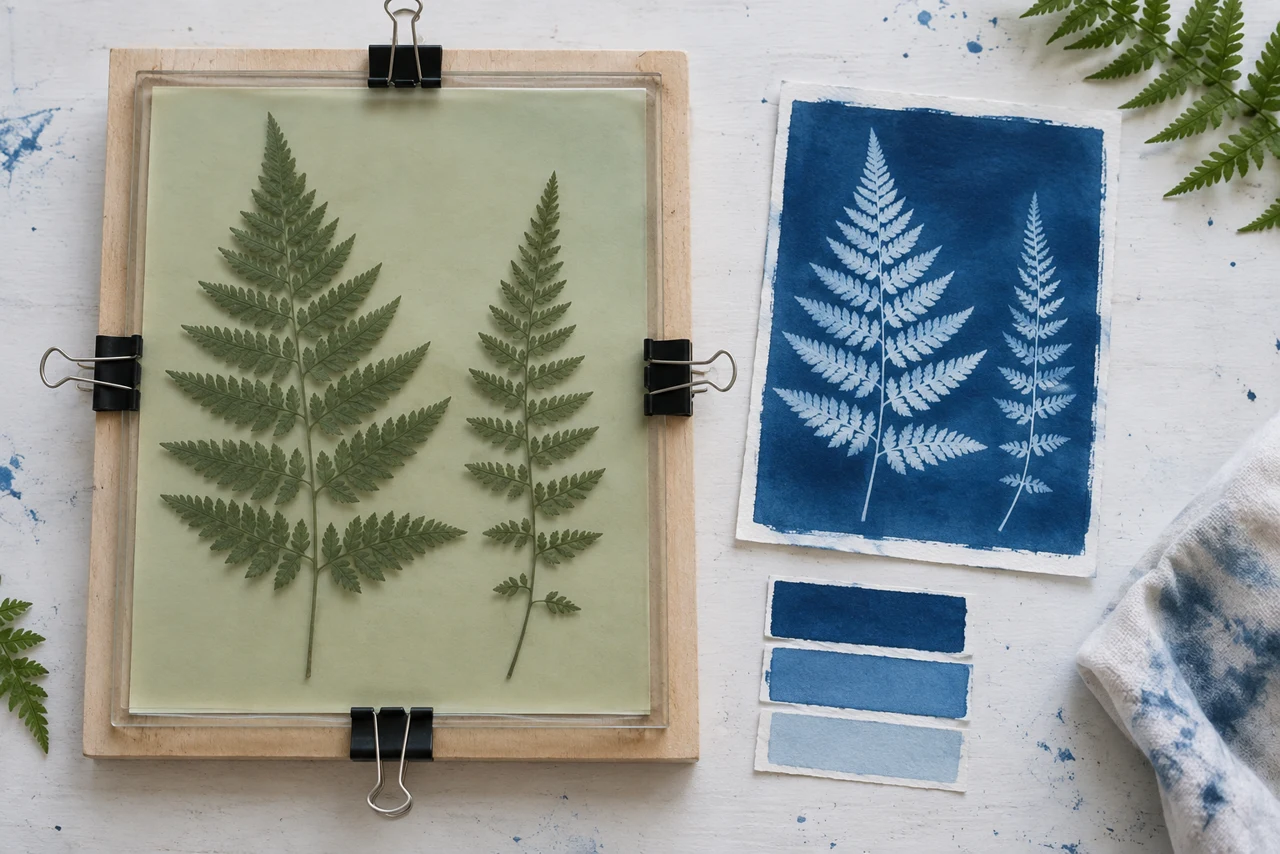
A reusable frame plan for comparing contact and exposure with commercially prepared cyanotype paper.
The blue is the invitation. The edge is the interesting part.
A leaf held tightly against cyanotype paper leaves a different boundary from one that lifts a little. A reusable contact frame makes that difference easier to investigate without changing the whole setup each time.
Hold the layers still
Begin with commercially prepared cyanotype paper and its manufacturer's instructions. A rigid backing, a suitable transparent cover and clips are enough for the first frame. Protect the cover's edges and avoid materials that crack under the clips.
The pressure should keep the layers from sliding, not crush the objects being printed. Try small specimens and test strips before using a full sheet.
Record exposure conditions and processing steps. Change contact separately from exposure, so a sharper edge does not get credited to the wrong adjustment. Keep the less successful strips; they may be the best record of what an adjustment did.
The extra print below shows the kind of edge and tonal variation worth examining. It is a separate cyanotype, not a result measured with this frame.
Follow the paper's handling and disposal directions, and protect skin and eyes from excessive sunlight. There is no need to mix chemicals for this first version.
The frame can stay plain. Its job is to behave consistently enough that the print, not the holder, becomes the subject.

Materials
- Commercially prepared cyanotype paper
- Rigid backing board
- Suitable transparent cover with protected edges
- Clips and exposure notebook
Build Steps
- 1
Follow the paper instructions
Use the specified exposure and processing method.
- 2
Check even contact
Prevent sliding without crushing the objects being printed.
- 3
Keep small test strips
Compare one adjustment at a time and record the conditions.