
- Difficulty (editorial)
- Beginner
- Documentation
- Experiment
- Hardware
- No microcontroller
Safe hand-tool use, secure workholding, and a sound offcut.
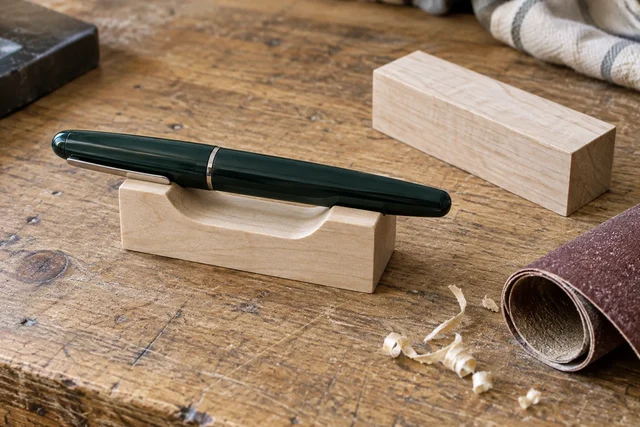
A modest woodworking plan: stop a pen rolling away without turning a scrap of wood into an elaborate desk accessory.
A small offcut. A shallow cradle. One pen that stops rolling away.
That is enough of a project. It does not need a phone charger, a cable channel, or a name that suggests a new category of desk furniture.
Make a cardboard shape first and put the actual pen on it. Include the cap and clip in the test. The widest part is not always where it appears to be, and a clip caught on the edge can turn an otherwise sensible rest into a tiny lever.
Try picking the pen up from the position where you normally write. If you have to pinch at it, change the shape. If your hand knocks the rest aside, widen the base or move the cradle. A comfortable object earns more goodwill than a symmetrical one.
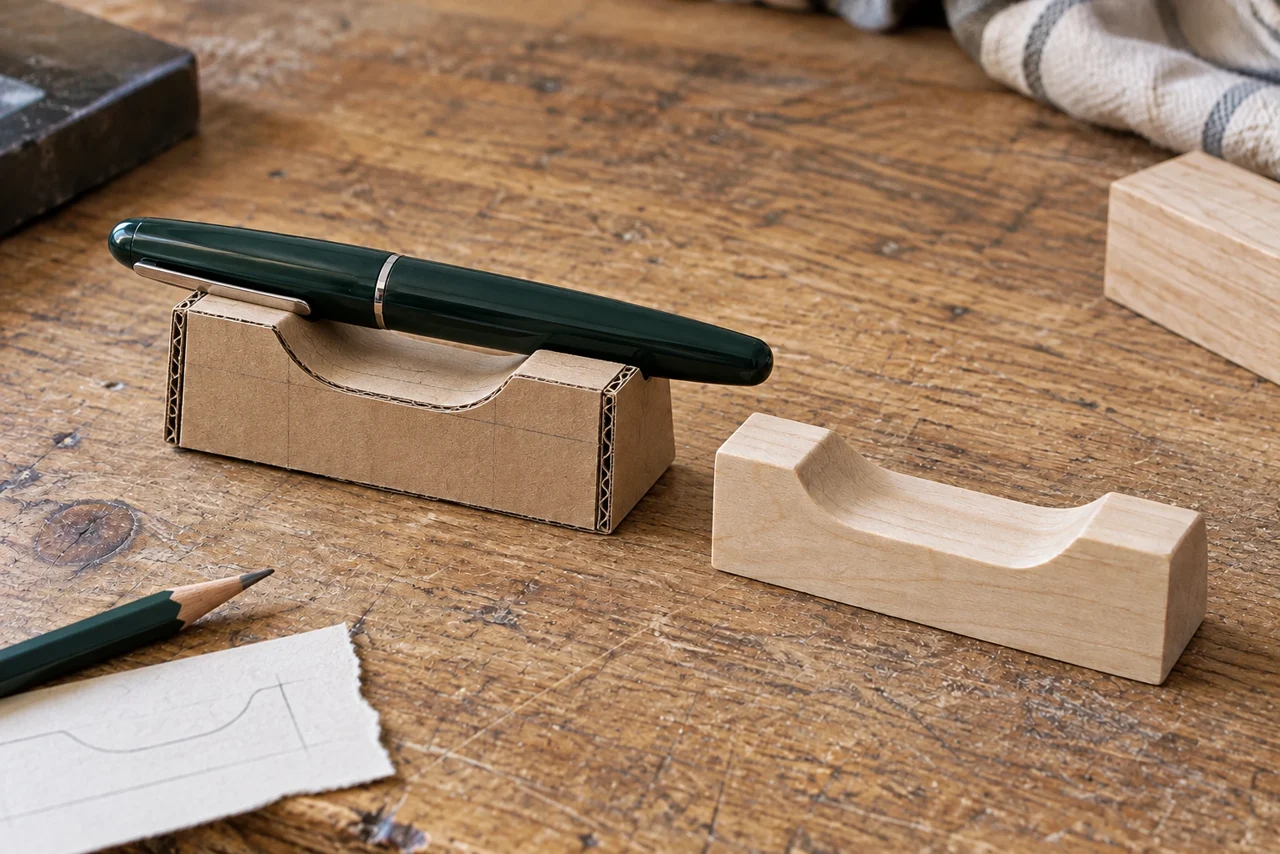
Transfer the useful outline to a sound wood offcut. Clamp it securely and use an appropriate hand tool, removing a little material at a time. There is no reason to hold a small loose block close to a cutting edge. Sand the contact surfaces so they will not mark the pen, and ease the corners that meet your fingers.
A broad, flat bottom matters. Nudge the pen from either end and try the rest on the actual desk surface. Add a non-marking underside only if it solves a problem; a stack of pads can make the rest rock.
Test any finish on scrap and allow it to cure according to its instructions before putting a valued pen against it. Then stop. The wood is allowed to look like a small piece of wood.
The nicest detail may be the one that never gets noticed: the pen stays where it was left, and picking it up does not require a second thought.
Materials
- Small sound wood offcut
- Paper and cardboard for mock-up
- Appropriate hand tools and workholding
- Sandpaper and suitable finish
Build Steps
- 1
Trace the pen
Set the seat and width around the object it will hold.
- 2
Try a cardboard version
Check reach, stability, and clip clearance.
- 3
Shape and finish safely
Secure the wood, ease edges, and test the finish on scrap.
Keep exploring

A Nature experiment maps light-driven electronic dynamics across graphene's momentum space. Sub-10-femtosecond frames and attosecond timing precision are different claims.
Image credit
Cropped measured momentum distributions from Figure 3a
V. Eggers et al. · CC BY 4.0Cropped to the two upper-left measured distributions in Figure 3a, retaining times, legend and axes; resized and encoded as WebP. Not a real-space photograph.
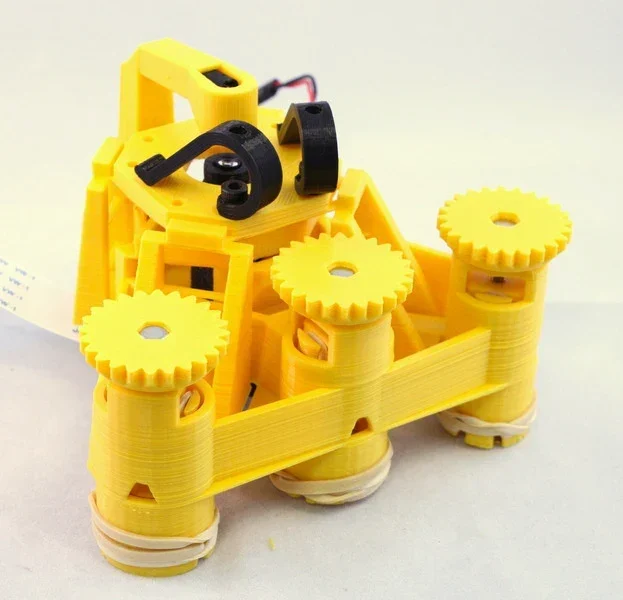
Richard Bowman and contributors' full microscope build instructions: printing, flexure actuators, two optical configurations, illumination, wiring, and motorization.
Image credit
docs/images/microscope_complete_1.jpg
Richard Bowman and OpenFlexure contributors · CERN-OHL-1.2Resized without cropping and converted to WebP for the project card.
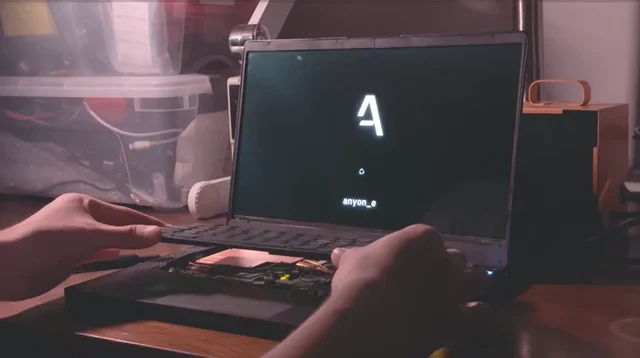
The original anyon_e creation story: a removable mechanical keyboard, custom electronics, a 4K OLED display, power-system work, Linux bring-up, and a machined chassis.
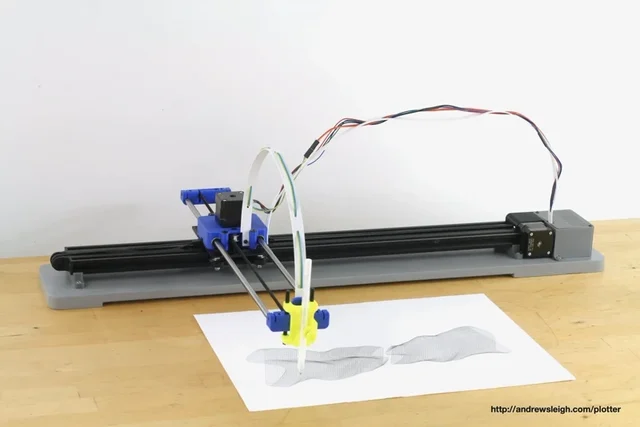
Andrew Sleigh's complete plotter writeup, with three design generations, original machine photos, parts lists and the SVG-to-G-code workflow.
Image credit
photos/v3/IMG_6608.jpg
Andrew Sleigh · MITResized without cropping and converted to WebP for the project card.