Aciduino V2: Build midilab's Arduino MIDI Step Sequencer
Original writeup by midilab
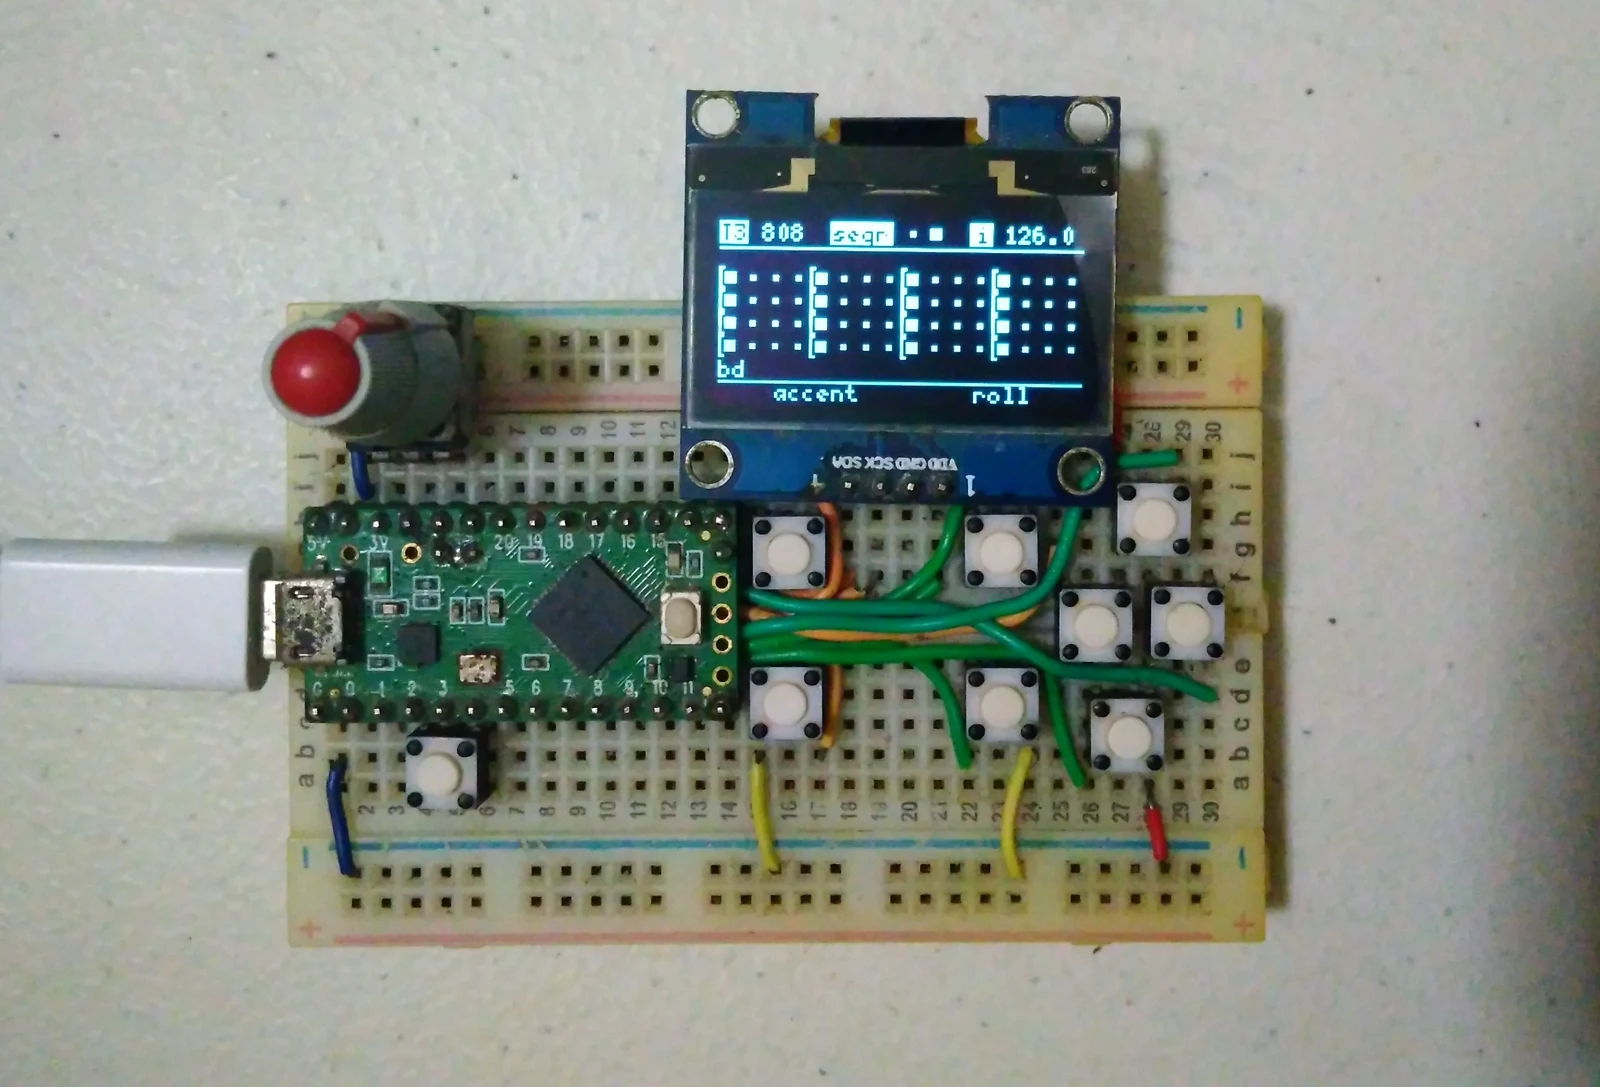
Before you build
Choose this for a physical music-control project. Aciduino is a sequencer: plan for a compatible sound source and the appropriate MIDI connection, rather than assuming the breadboard alone produces synthesizer audio. The original V2 README covers supported microcontrollers and initial assembly; its linked user manual contains the operating controls. Follow the port and wiring for the board you actually use.
The complete Aciduino V2 project README by midilab, with breadboard layouts, assembly photographs, supported boards, and the original firmware and manual links.
Aciduino V2
Put your DIY super powers to the test building your own Roland's TB-303 and/or TB-808 step sequencer! An Arduino based clone project specially hacked with corrosive features to improve live performances! Save your money building the classic and timeless TB-303 and TR-808 step sequencer clone faster than a blink of an eye.
This version is multi-architecture, allowing for the use of different microcontrollers in the build. Currently, it supports Arduino Mega, any Teensy >= 3.2, and ESP32(tested on wroom dev kit only for now).
Aciduino V2 is also the first official uMODULAR app, leveraging uMODULAR schematics, uCtrl drivers/interface library, and uClock BPM clock generator.
Download
The recommended way for aciduino users is to make use of release pack on Releases area, make sure to download the one named aciduino-v2_xxx.zip, where xxx is the version released.
If you want to get the latest on the edge features and keep in track with development of aciduino you can make use of git version via clone.
As this version utilizes uCtrl and uClock libraries as submodules, please remember to initialize the submodules immediately after cloning the repository.
you@acidlab:~$ git clone https://github.com/midilab/aciduino.git
you@acidlab:~$ cd aciduino/
you@acidlab:~$ git submodule update --init --recursive
Open v2/AciduinoV2/AciduinoV2.ino and uncomment only one of the following microcontroller ports depending on wich one you're going to use.
...
//
// Select your platform port
//
//#include "src/ports/avr/mega.h"
//#include "src/ports/teensy/protoboard.h"
#include "src/ports/esp32/wroom.h"
//#include "src/ports/esp32/wroom-ext1.h"
//#include "src/ports/teensy/uone.h"
//#include "src/ports/avr/midilab_mega.h"
...
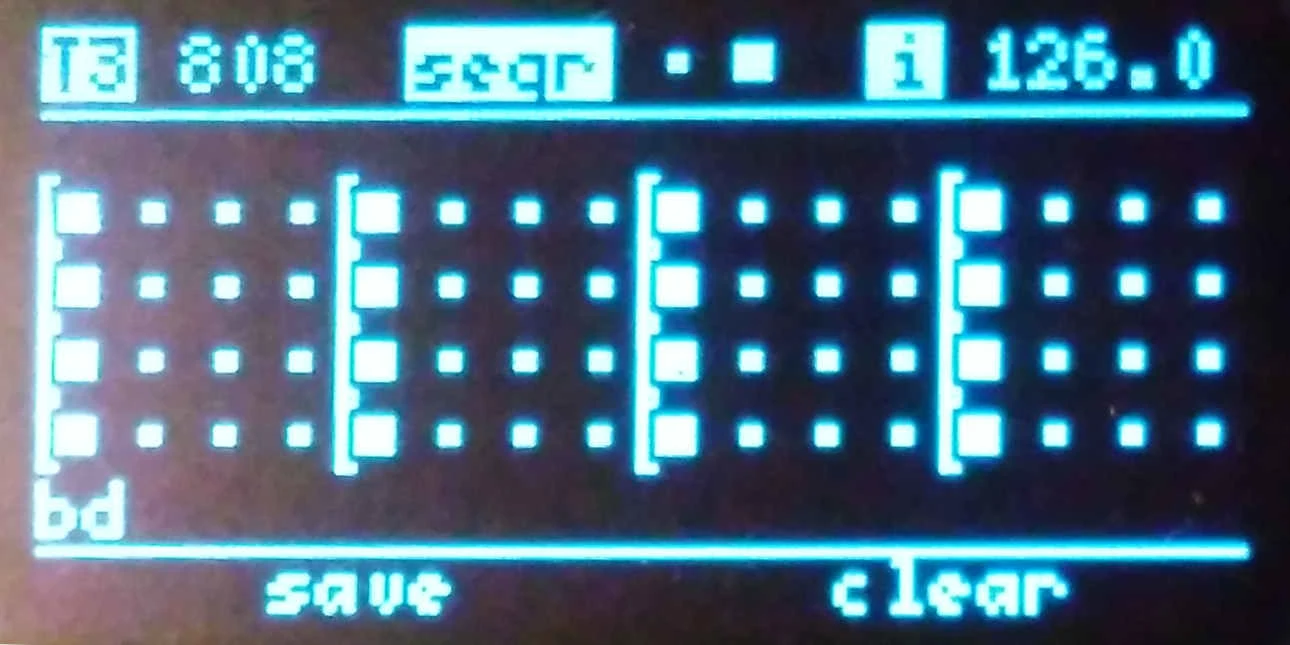
How does it looks like?
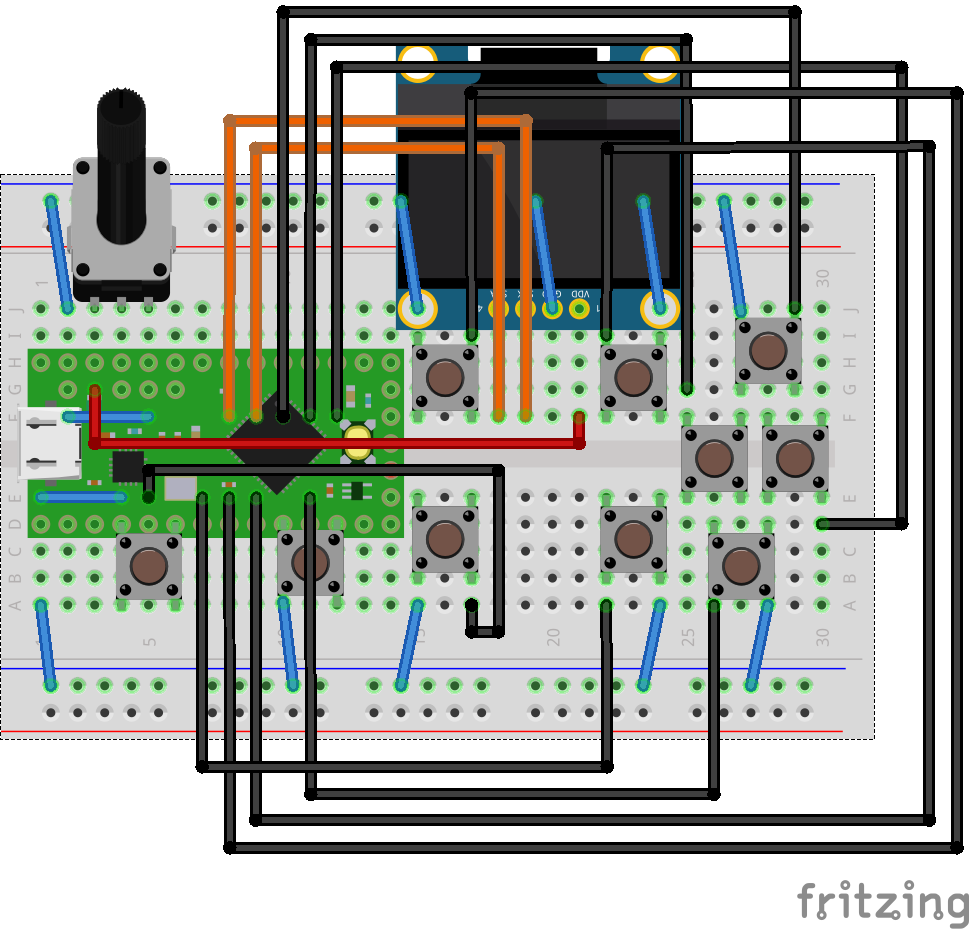
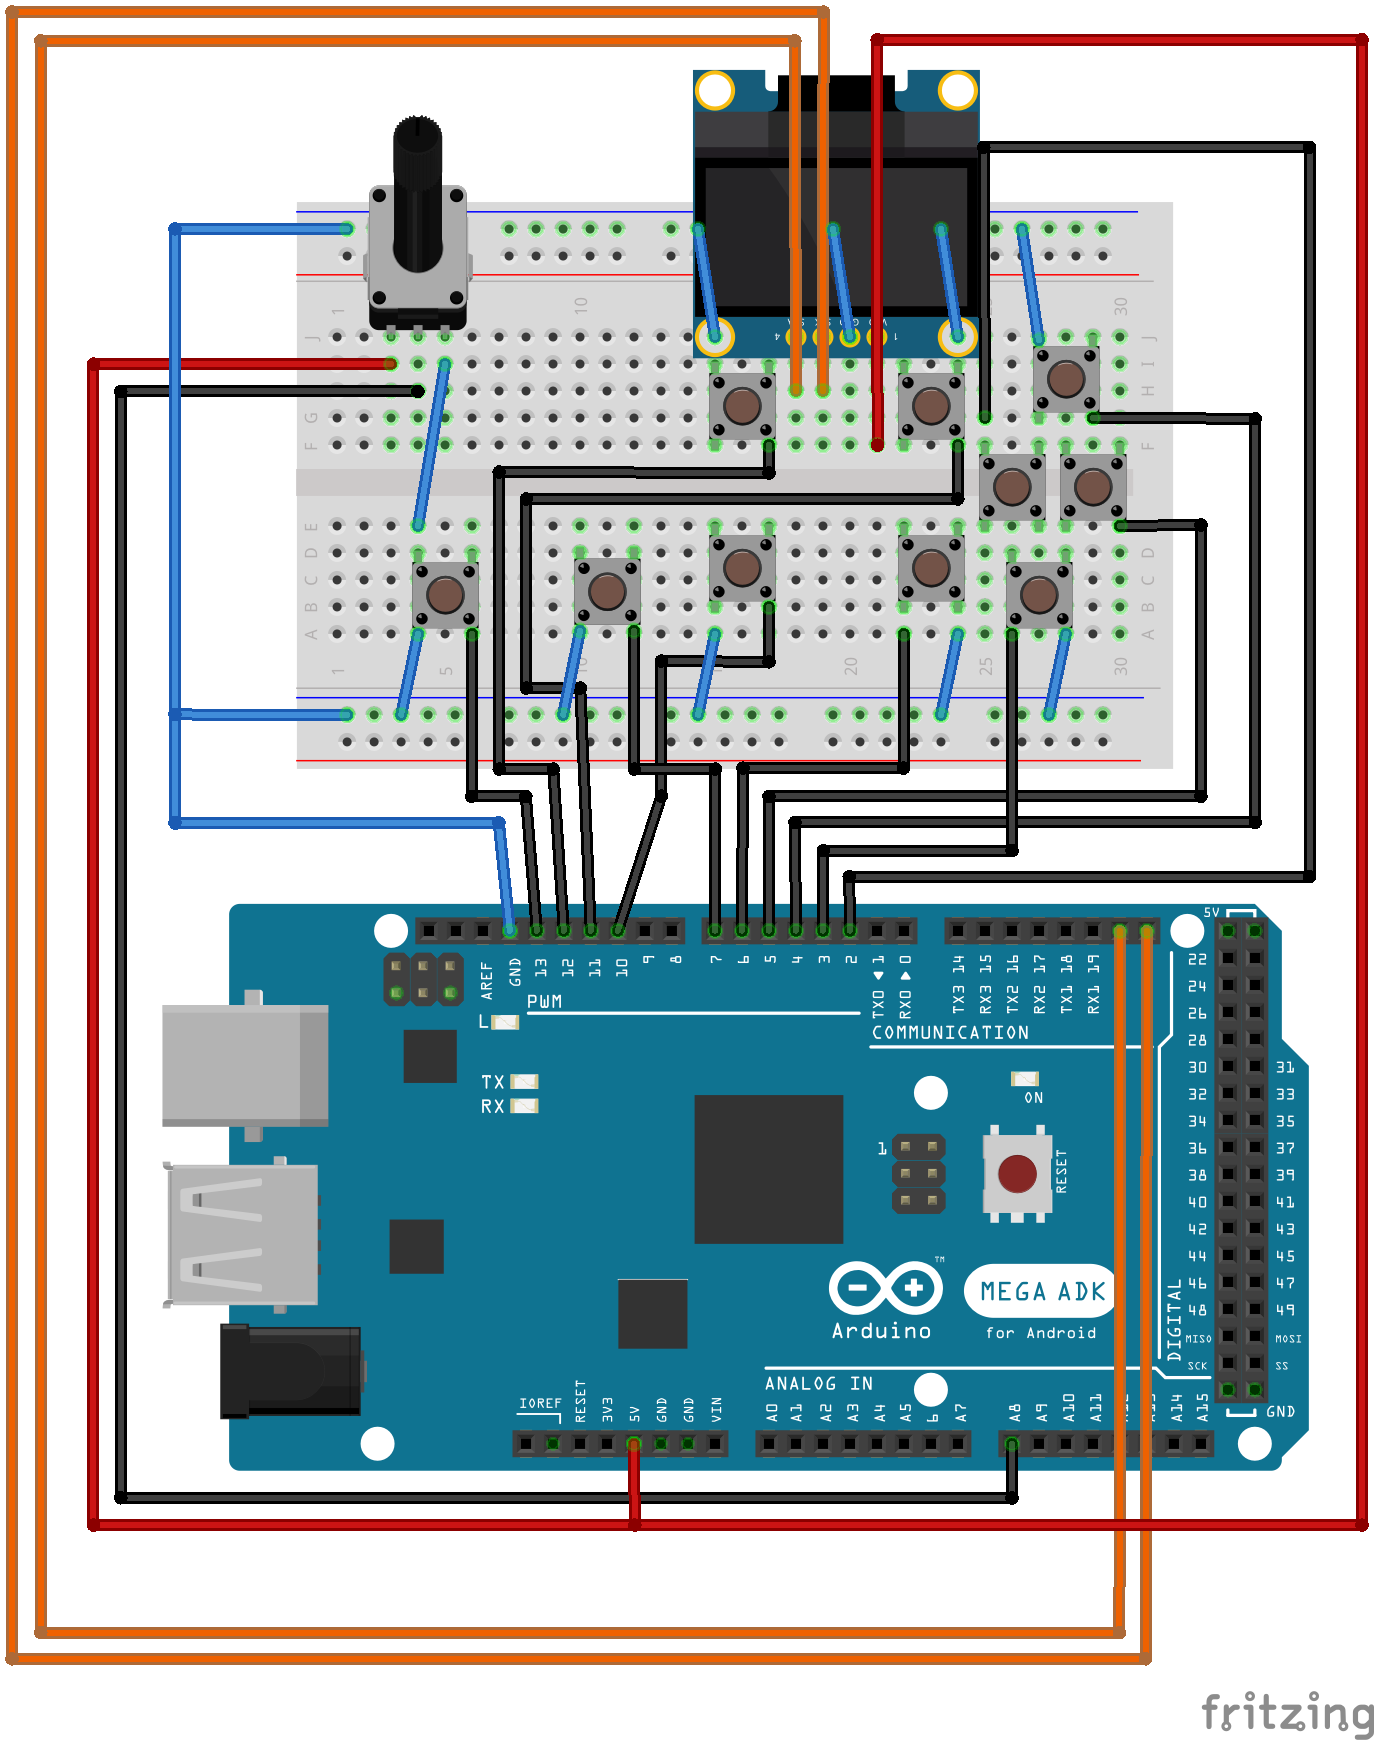
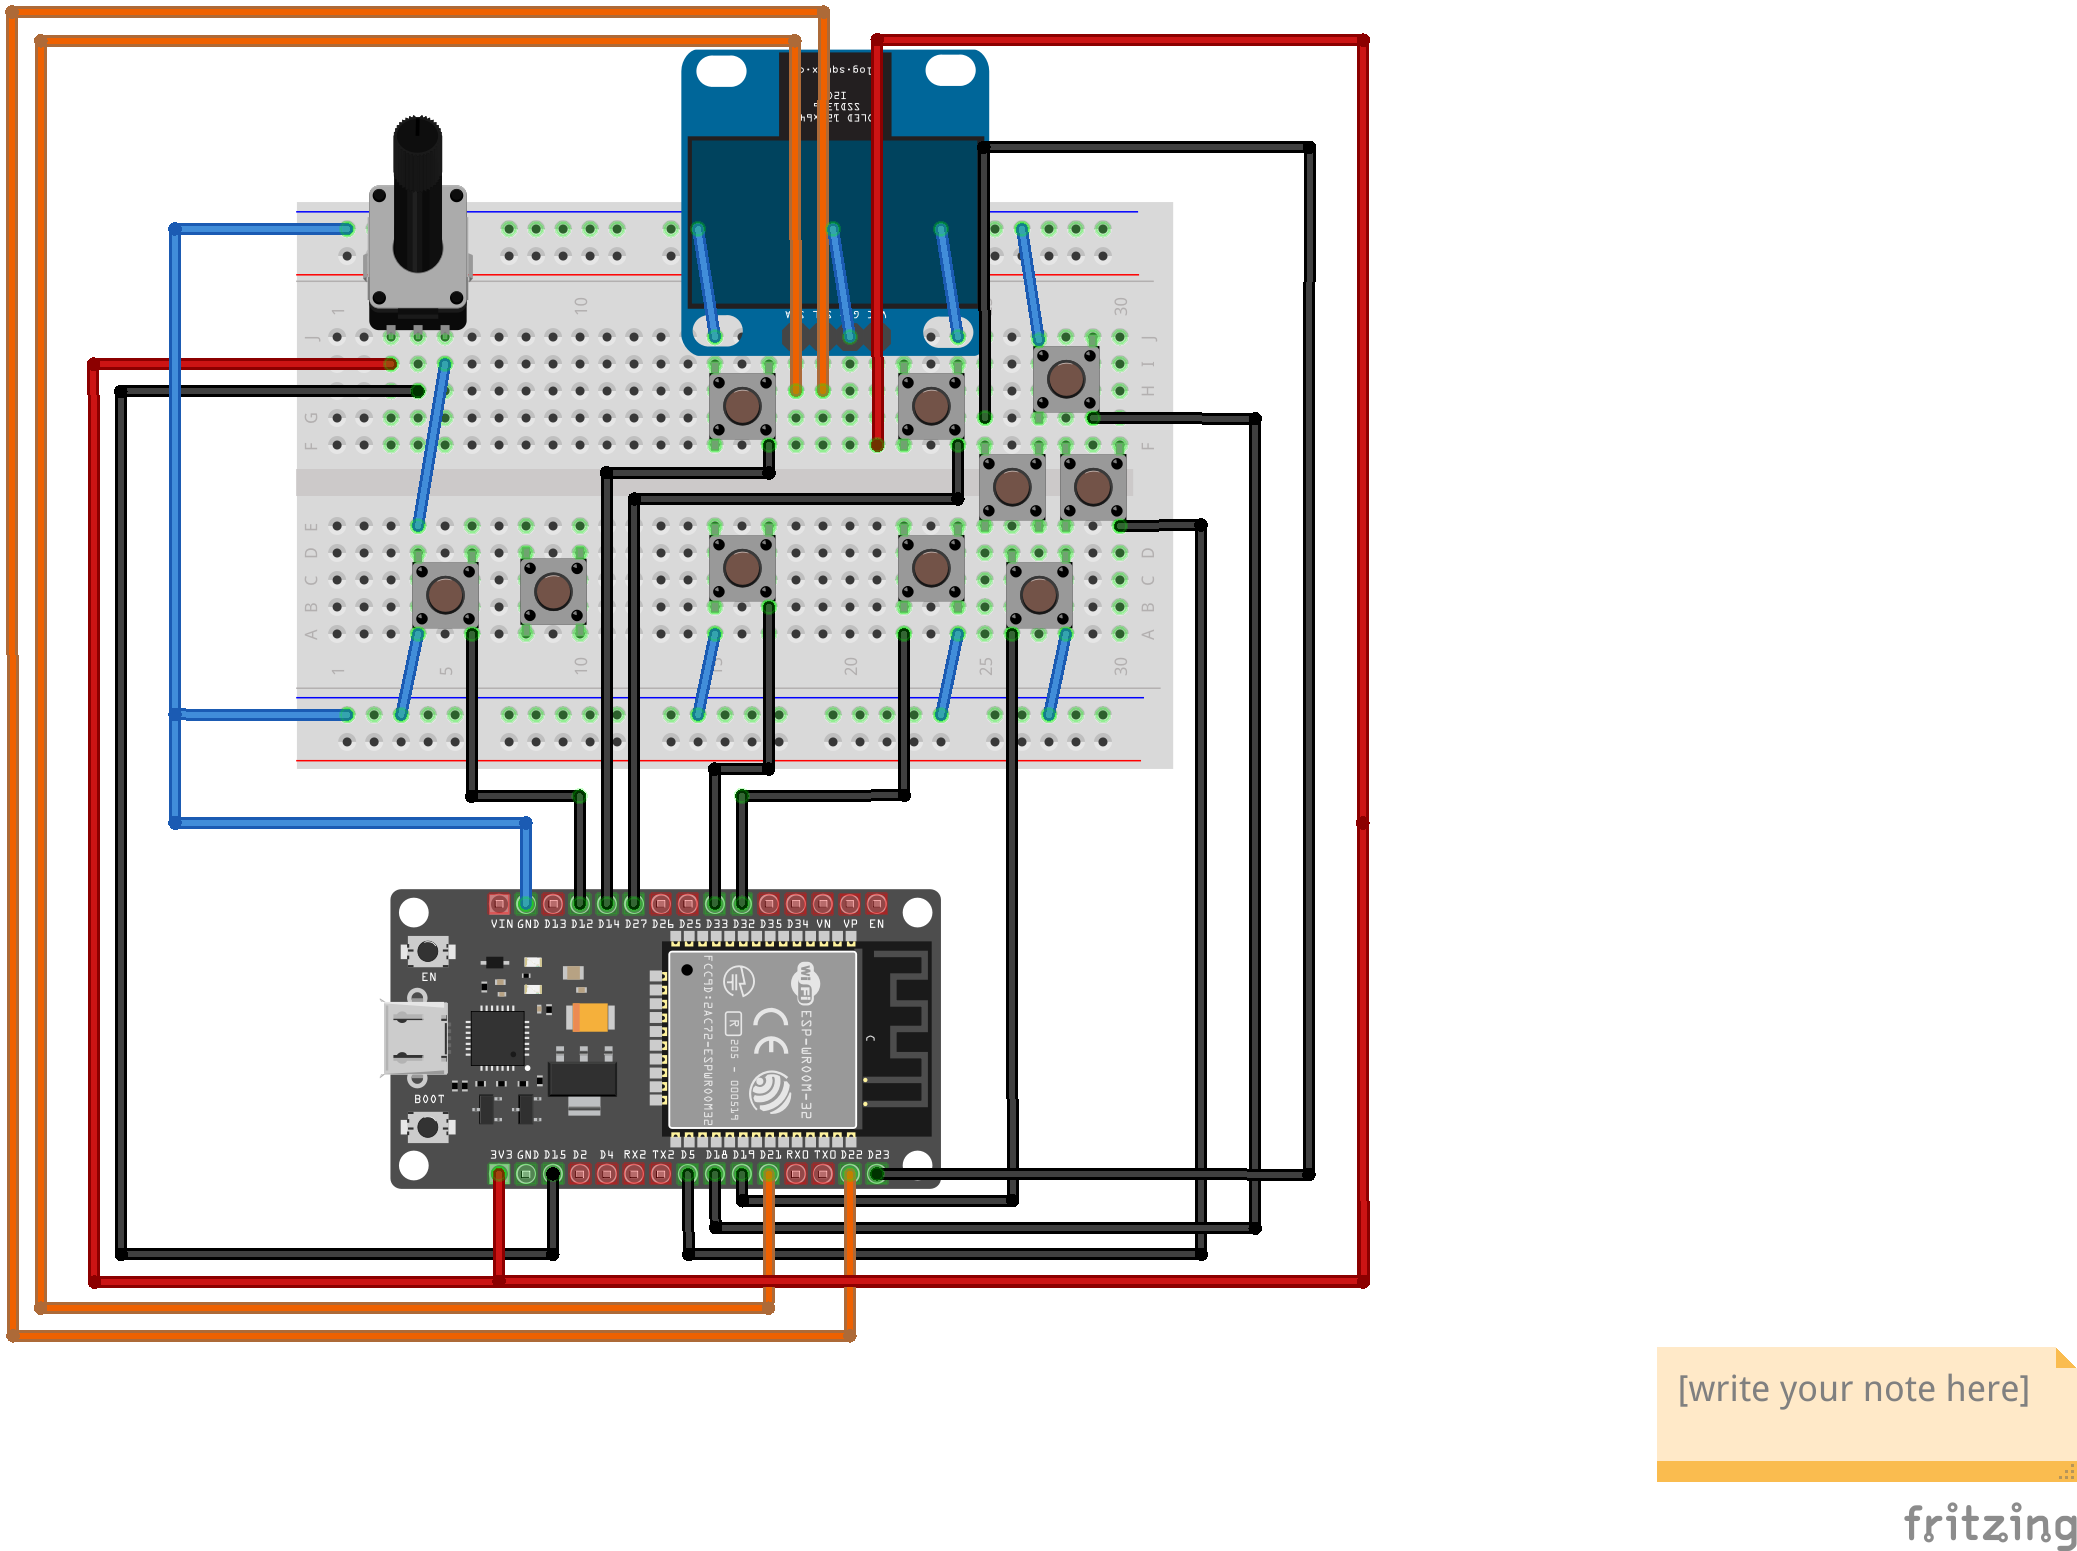
Aciduino v2 brings new acid elements such as 808 step sequencer and a generative engine based on euclidian algorithm for great acid drums ideas.
A oled screen to get access to all parameters that matters in realtime, a easy to edit grid system for 808 and 303.
How to use?
Please reffer to user manual
Assembly
Place the buttons, knob and powerlines
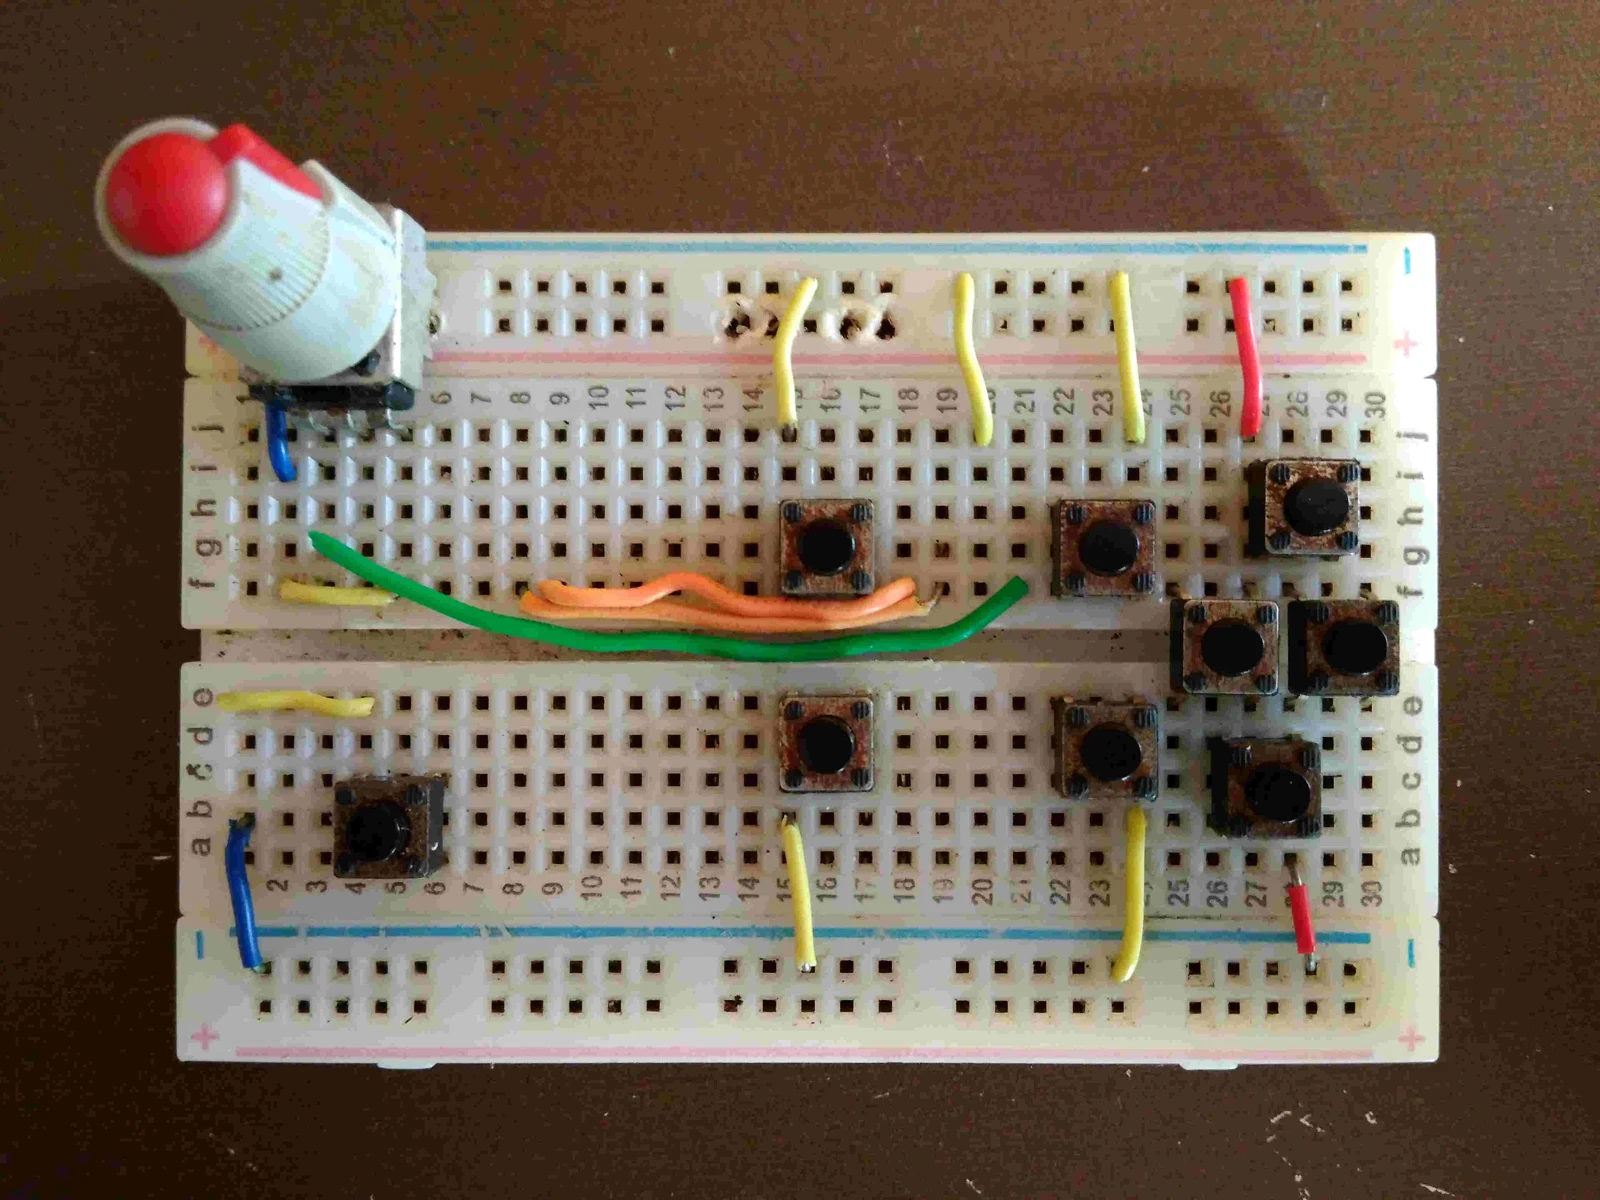
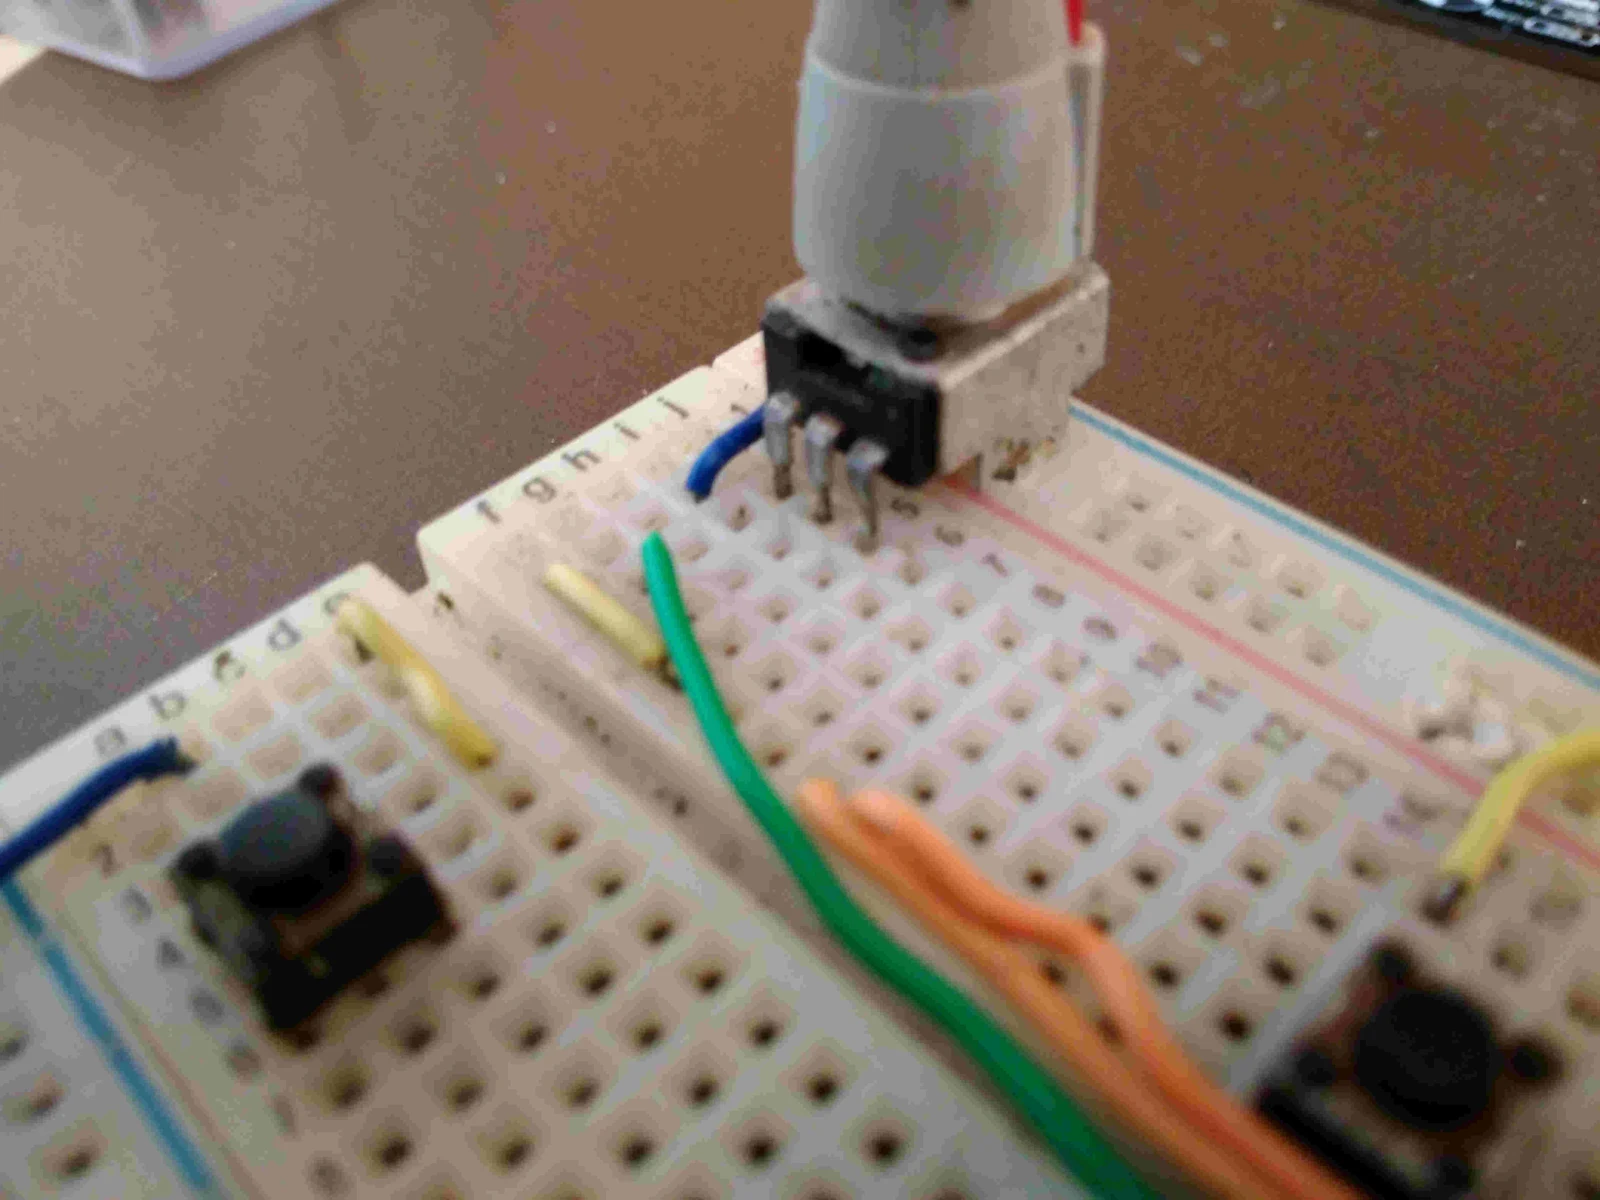
You need to increase the size of two of the hole to place the pot base support on top (+) connect grid line.
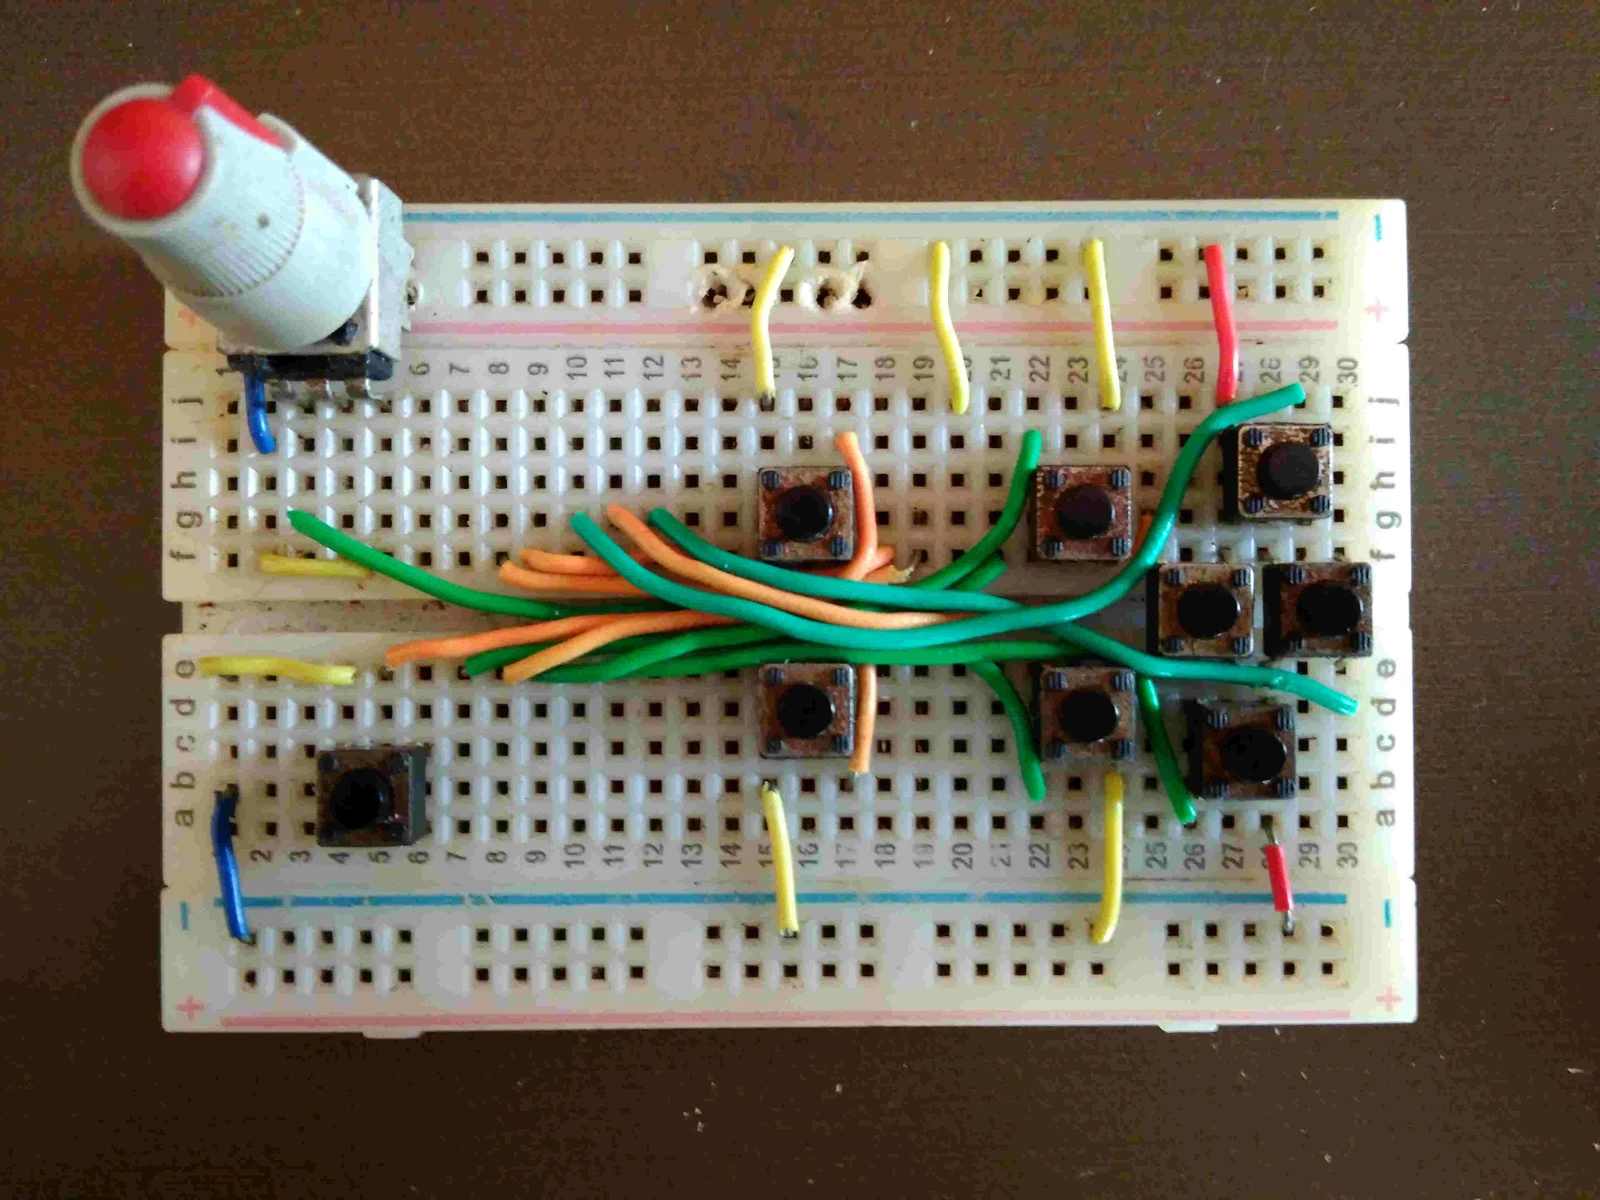
Place signal lines for buttons
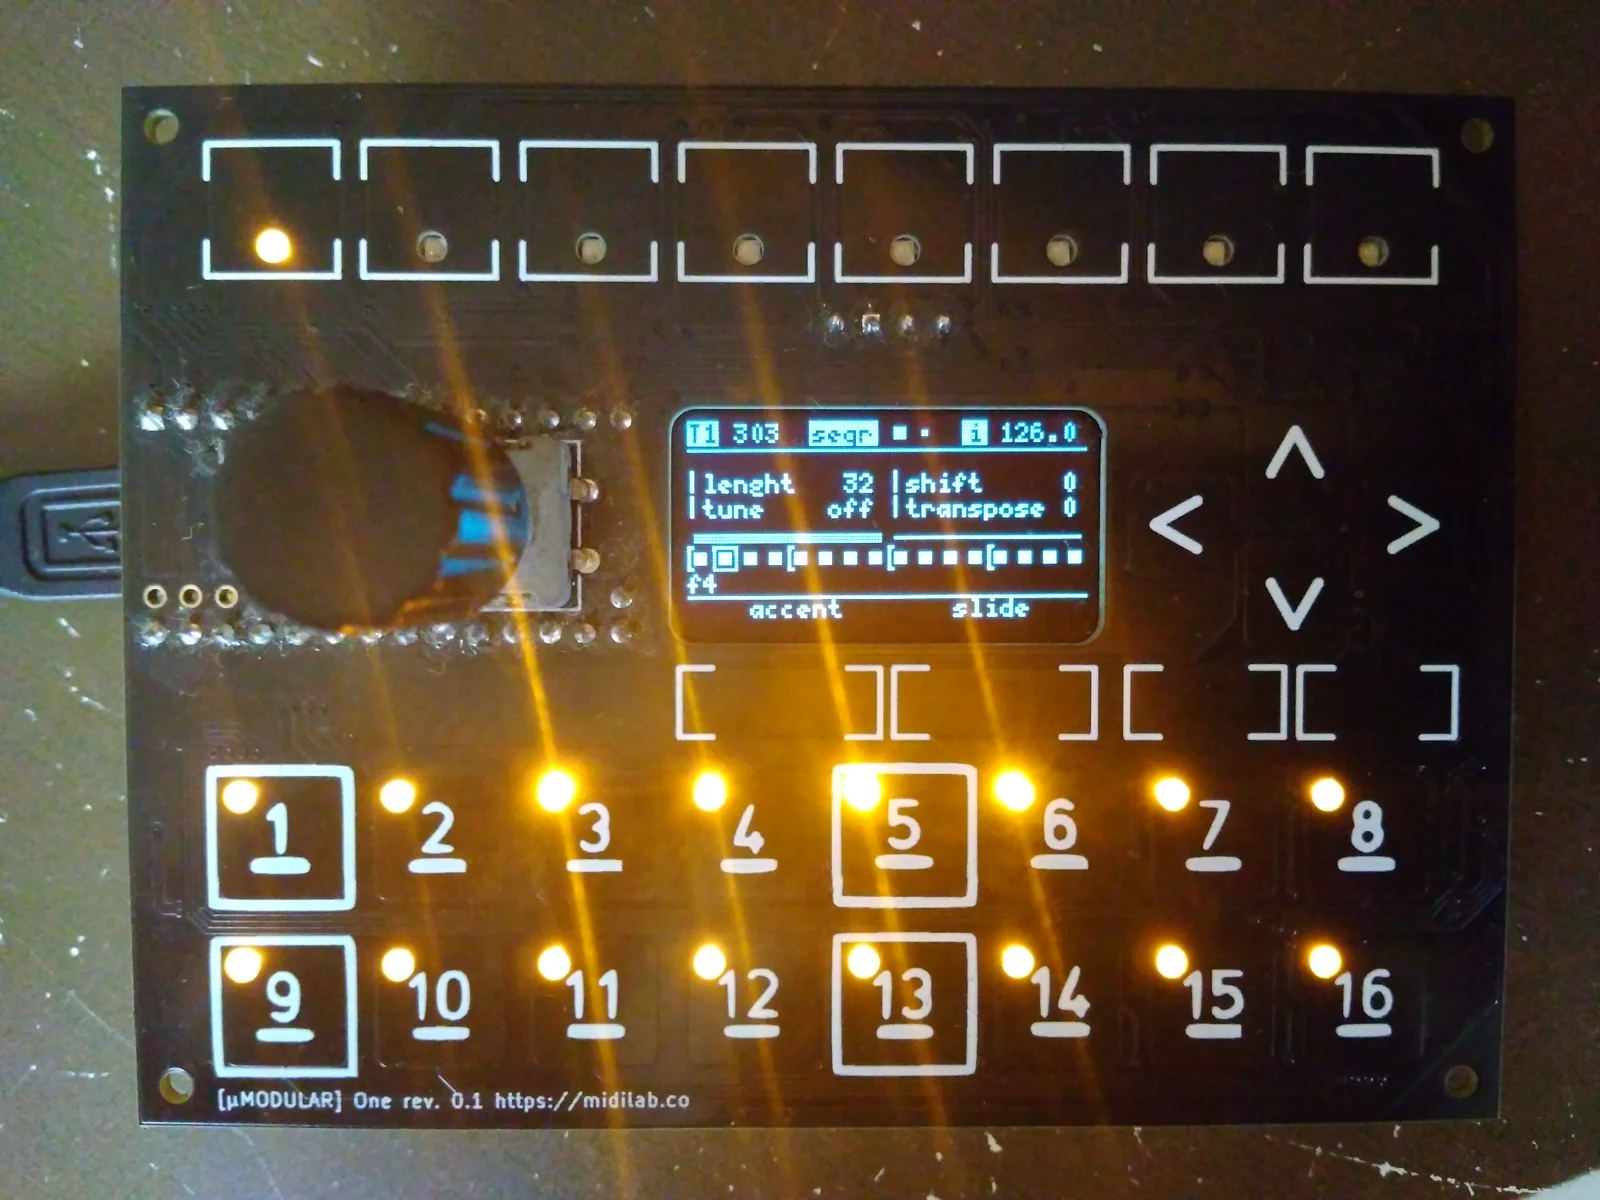
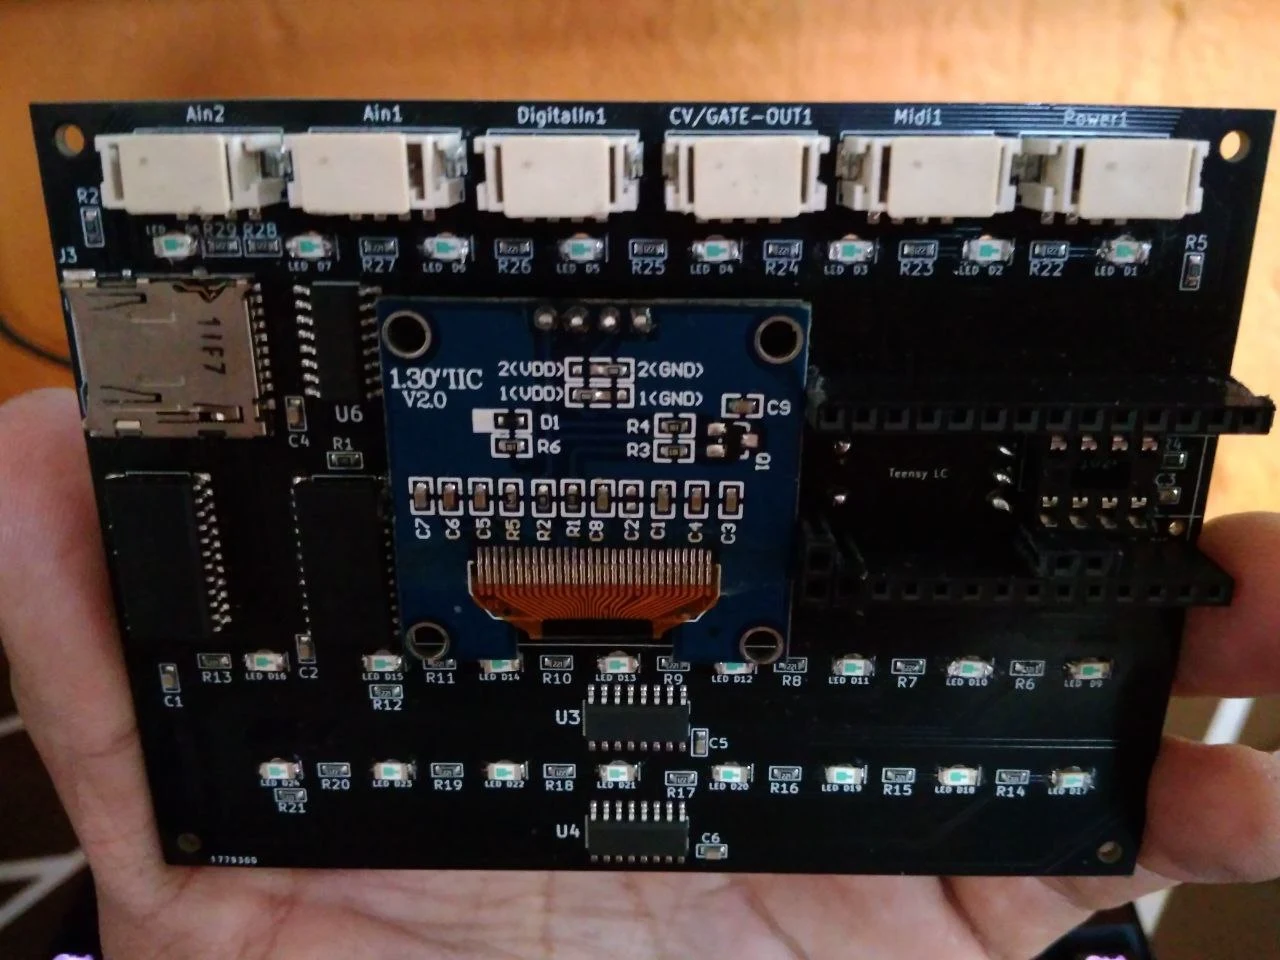
uMODULAR uOne
One of the uMODULAR projects to run your Aciduino V2, soon avaliable.
Source and license
Original documentation: midilab. Reproduced under MIT. Individual image credits identify any separately licensed media. The full original copyright and permission notice is retained in that license file.
Republished the complete README text. Reformatted HTML as Markdown, resolved relative links, and served repository images locally. Photos resized without cropping; diagrams retain source resolution. Externally hosted or separately unverified media is linked at its original location. Introductory selection notes are by Meteor Makers; the original author is not responsible for those notes.
Source revision: 9f5f972529ee. Retrieved 2026-10-03. This is a source snapshot, not a claim that the project was first published today or that its creator endorses Meteor Makers.