
- Difficulty (editorial)
- Beginner
- Documentation
- Experiment
- Hardware
- No microcontroller
Light-tight assembly and the recording medium's handling instructions.
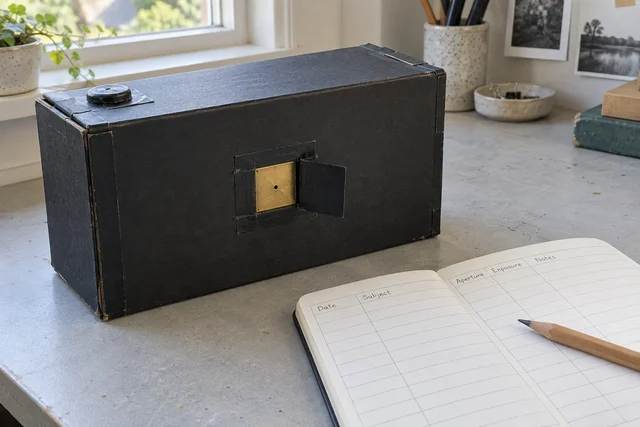
A reusable lensless camera plan, with the notes treated as part of the instrument rather than scraps to lose.
The shutter can be a piece of tape. The notebook deserves rather more thought.
A lensless camera is a good excuse to slow down. It is also an excellent machine for producing ambiguous results. A faint image might mean too little exposure, an unsuitable paper, a loading mistake, or a scene that was darker than it looked. A bright smear might be a light leak. Or the camera moved. Without notes, each new photograph begins the investigation again.
This build puts a reusable light-tight box and a small exposure notebook on equal footing. The aim is not to make the most elaborate camera. It is to make a camera whose next photograph can teach you something about the previous one.
Build a box you can return to
Start with the photosensitive material and its holder, then size the body around them. A paper negative and a sheet of film do not necessarily want the same loading arrangement. Follow the material manufacturer's handling and processing instructions; loading under an ordinary room light is not an experiment worth repeating.
The body needs a secure back, a fixed pinhole-to-image distance, and an interior that does not scatter stray light everywhere. Make the pinhole plate replaceable. Tape over any exposed sharp metal edges, and give the shutter its own attachment point so opening it cannot pull the plate loose.
A small flap of opaque tape is perfectly reasonable. Fold the end over to make a tab. Open it with the camera resting on a steady surface, not while holding the box in midair. Before loading anything expensive, rehearse the movement several times. If the box rocks, improve the support or the shutter before worrying about optical refinement.
NASA JPL's pinhole-camera activity is a useful introduction to the image-forming principle. Its projection activity and a camera that records a photograph are different uses of the same idea. Never look directly at the Sun through an optical viewer.
Give each exposure a page of its own
Not a full essay. A reliable place for the facts.
Before opening the shutter, record the frame number, material, camera depth, pinhole plate identifier, scene, and intended exposure. After closing it, note the actual exposure and anything that changed. A passing cloud is worth one sentence. So is a tripod knocked by a shoe.
Keep processing notes with that frame. Otherwise a change in development can be mistaken for a change in the camera. There is nothing sophisticated about the system below; its virtue is that it leaves somewhere to write the disappointing part.
Frame:
Material and batch:
Camera depth / pinhole plate:
Scene and light:
Planned exposure / actual exposure:
Processing notes:
What the image shows:
One change for the next frame:
Leave room for a small print or a contact sheet. The notebook should be useful after the filenames and the memory of that afternoon have stopped making sense.
Three comparisons, not three simultaneous changes
The tempting first afternoon is a flurry of modifications: enlarge the hole, shorten the box, change the paper, extend the exposure. A better photograph might result. Knowing why is another matter.
Begin with one geometry and one material. Bracket exposure according to guidance for that material, recording every attempt. Long exposures can require material-specific corrections, so a simple exposure multiplier is not a universal guarantee. Consult the film or paper documentation rather than treating the notebook as a substitute for it.
Once that comparison is understandable, try a different pinhole plate while keeping the body and material fixed. Only later change the depth. Use ordinary scenes with recognizable edges and a mix of tones. A completely different subject in completely different weather introduces enough change to hide a small improvement.
There is a quiet pleasure in putting two frames beside each other and being able to say exactly what changed. That is the useful result, even when neither frame is the one you would hang on a wall.
Keep the failures physically close
A camera body tends to survive because it is an object. Notes are easier to lose. Add a pocket to the storage box, or keep the notebook with the empty holder. The small arrangement matters more than choosing a perfect note-taking app.
Retain the frame with the light leak. Circle the part that made you suspicious. Keep the blurred frame and note whether the entire scene moved or only a subject within it. These are different clues. A folder containing only attractive photographs is a portfolio; this notebook has a less glamorous job.
When the camera begins to behave predictably, resist rebuilding it immediately. Use it long enough to learn which scenes suit it. The box can remain crude. The attention does not have to be.
Materials
- Light-tight camera body and compatible film or paper holder
- Replaceable pinhole plate
- Opaque tape shutter
- Exposure notebook
Build Steps
- 1
Check the body
Inspect the holder and seals before loading photosensitive material.
- 2
Fix one geometry
Keep the pinhole-to-image distance unchanged for the first comparison.
- 3
Record each frame
Log conditions and exposure before moving the shutter again.
Keep exploring
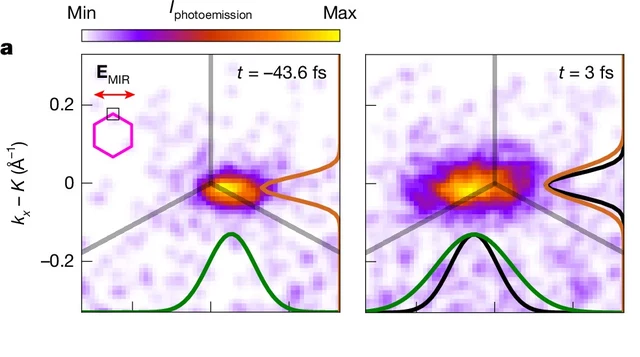
A Nature experiment maps light-driven electronic dynamics across graphene's momentum space. Sub-10-femtosecond frames and attosecond timing precision are different claims.
Image credit
Cropped measured momentum distributions from Figure 3a
V. Eggers et al. · CC BY 4.0Cropped to the two upper-left measured distributions in Figure 3a, retaining times, legend and axes; resized and encoded as WebP. Not a real-space photograph.
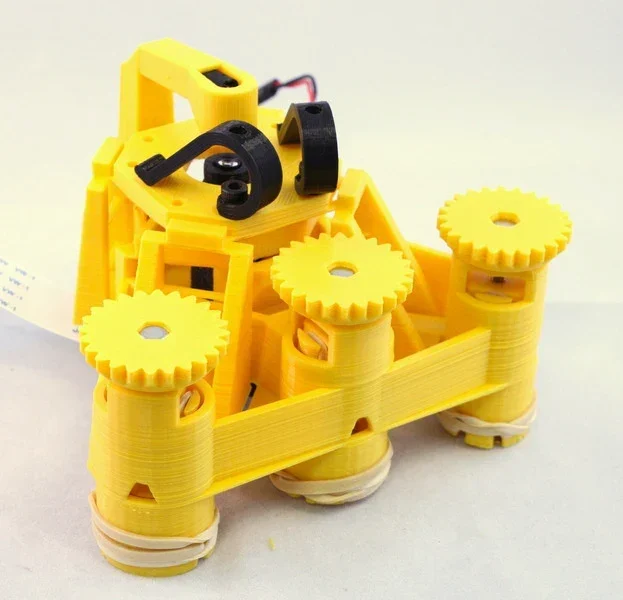
Richard Bowman and contributors' full microscope build instructions: printing, flexure actuators, two optical configurations, illumination, wiring, and motorization.
Image credit
docs/images/microscope_complete_1.jpg
Richard Bowman and OpenFlexure contributors · CERN-OHL-1.2Resized without cropping and converted to WebP for the project card.
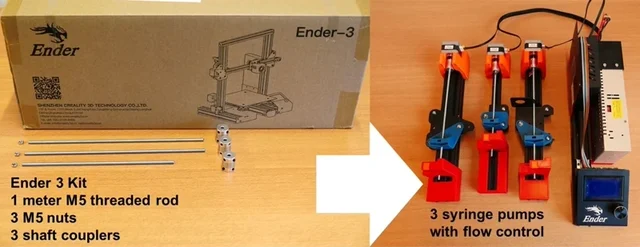
Sander Baas and Vittorio Saggiomo's open laboratory build: original project chapters, apparatus images, assembly and operating PDFs, and the characterization document.
Image credit
Figures/fig1.jpg
Sander Baas, Vittorio Saggiomo · MITResized without cropping and converted to WebP for the project card.
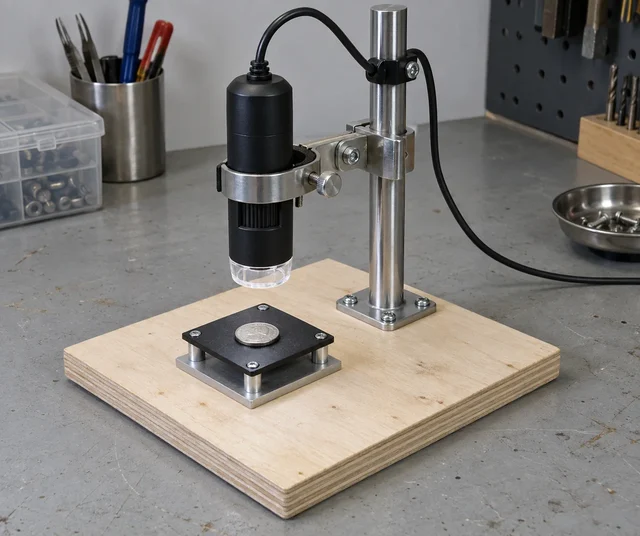
A simple fixture plan that separates focusing from the accidental movement of a lightweight microscope base.