Bench Notes / a practical reading path
From board to useful display
Start with the display's job, not a shopping basket of boards. A noticeboard needs a visible last update; a reader needs a compatible display and memory configuration; a weather screen must separate downloaded information from a local measurement. These documented projects make those differences concrete.
Work through the path
01 Define the offline state
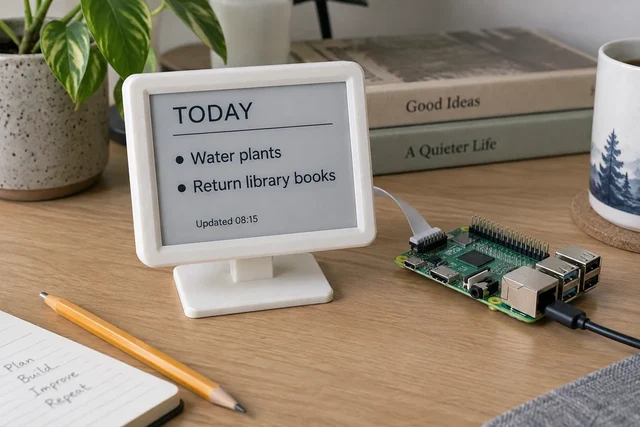
Read the stale-data experiment and decide what should remain on the screen after a connection failure. A cached value should not masquerade as a fresh measurement.
Setup check: Write down the visible timestamp, freshness limit, and disconnected state you want to test.
02 Match the exact board and display
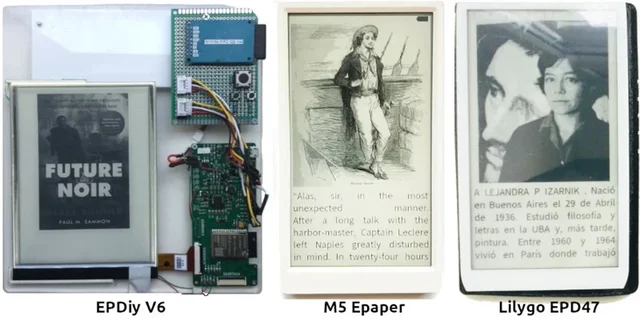
Check the creator's supported PSRAM-equipped configurations and the e-paper connections before buying parts. A similarly named ESP32 board is not automatically a substitute.
Photo credit
docs/diy-main-image.jpg
Chris Greening (atomic14) · MITResized without cropping and converted to WebP for the project card.
Resized for display; composition unchanged.
Setup check: List the exact board variant, display model, firmware environment, and required memory.
03 Separate wiring from service setup
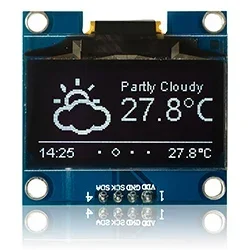
Follow the complete creator guide. Confirm the display connections and firmware environment before diagnosing weather-service configuration. Check the source for current service requirements.
Photo credit
resources/CurrentWeatherReflection.jpg
Daniel Eichhorn, ThingPulse and contributors · MITResized without cropping and converted to WebP for the project card.
Resized for display; composition unchanged.
Setup check: Keep the local display test and the external data-source test as separate entries.
Make it repeatable
Keep an observation log.
Record the setup, reference condition, changed variable, units, and repeat readings. A blank, headings-only CSV for your next experiment.