Bench Notes / a practical reading path
Signals to sound
Sound projects cross mechanical, electrical, and software boundaries. A changed mounting surface is not the same thing as a changed preamp, and a waveform on a browser screen is not a calibrated audio analyzer. Keep those boundaries clear before moving to a larger connected instrument.
Work through the path
01 Change the mount, not everything
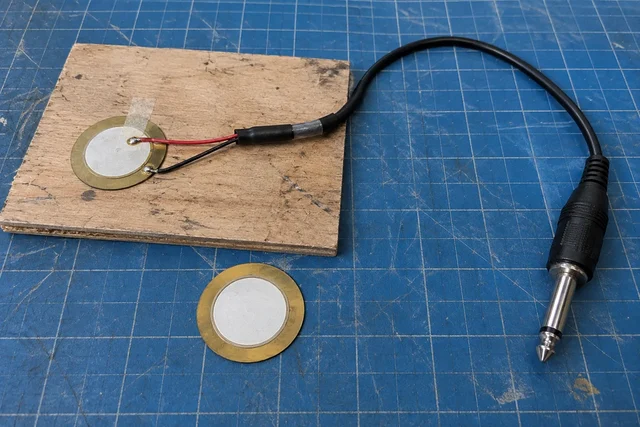
Read the protected piezo input requirements first. Compare mounting methods with the same input arrangement and repeatable excitation, rather than treating louder as automatically better.
Setup check: Record the mounting surface, attachment method, input setup, and how the sound was excited.
02 Read the instrument's limits
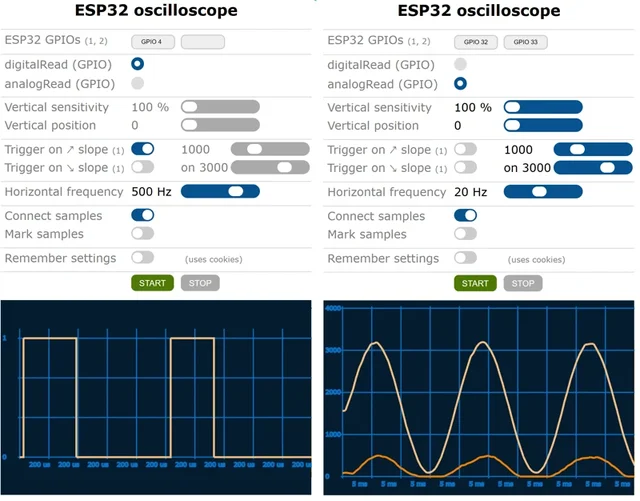
Use the creator's documented low-voltage setup and read its sampling limitations. This project is not a mains-rated instrument and should not be connected to hazardous circuits.
Photo credit
oscilloscope.png
Bojan Jurca · MITResized without cropping and converted to WebP for the project card.
Resized for display; composition unchanged.
Setup check: Keep the signal conditions and sampling limitations beside any captured trace.
03 Follow the complete assembly path
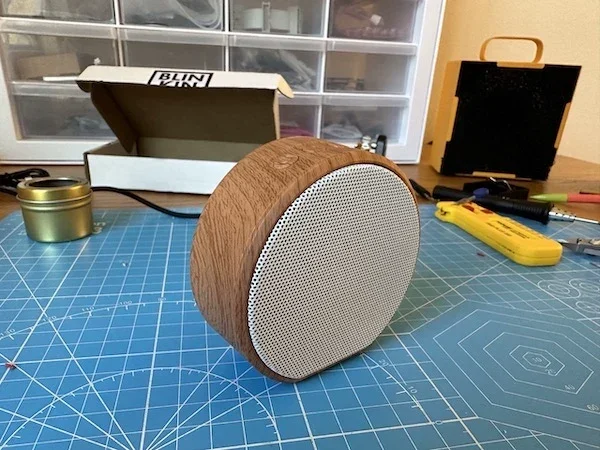
The creator's guide has separate electronics, flashing, networking, and enclosure chapters. Read them together before substituting hardware or attempting the full networked setup.
Photo credit
pics/speaker_assembly/11.jpeg
Brian Whitman, Shore Pine and contributors · MITResized without cropping and converted to WebP for the project card.
Resized for display; composition unchanged.
Setup check: Use the original assembly checklist and record hardware and firmware versions.
Make it repeatable
Keep an observation log.
Record the setup, reference condition, changed variable, units, and repeat readings. A blank, headings-only CSV for your next experiment.