A soil sensor that has to prove itself first
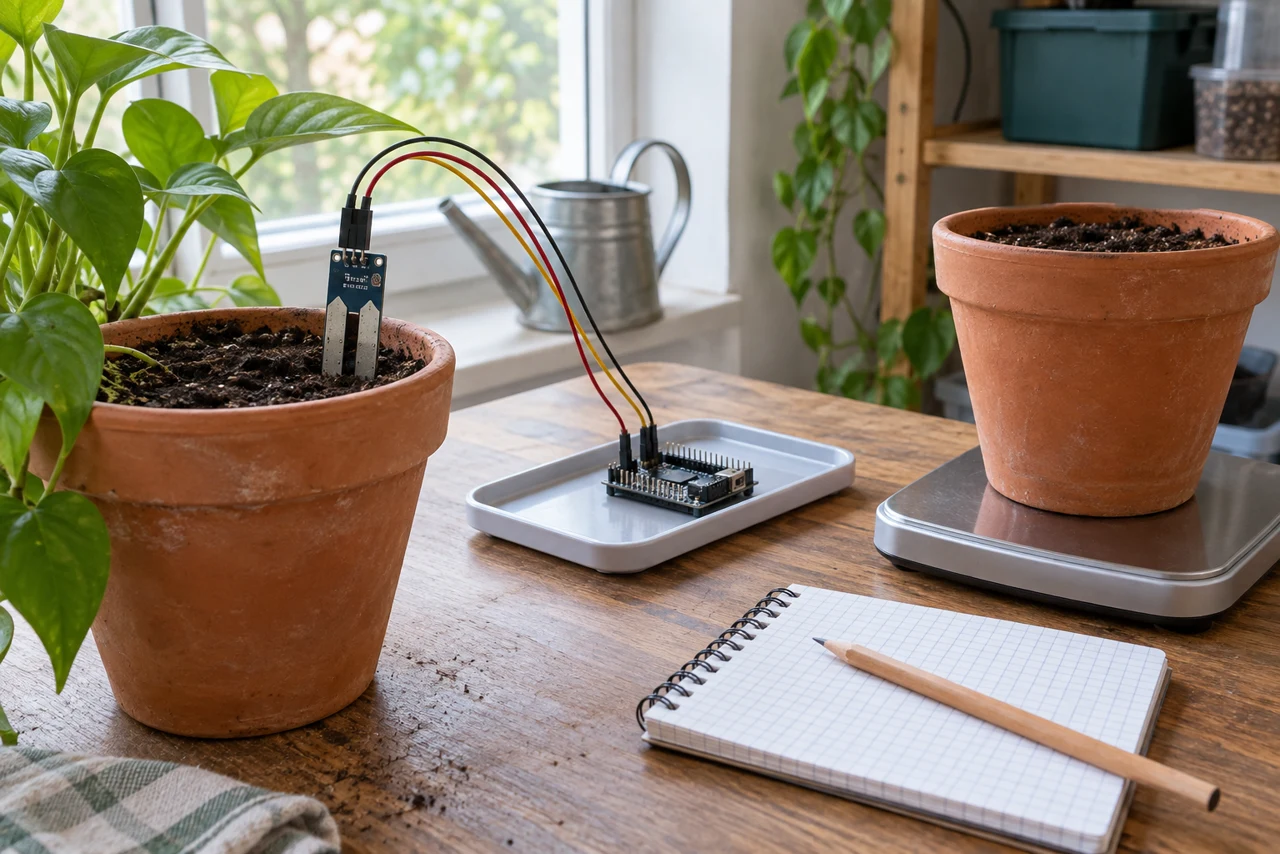
A calibration notebook for a moisture probe, with no automatic watering until the readings are understood.
A reading of 62 is not a watering instruction.
That number needs a history: what soil, what insertion depth, how recently watered, and whether it changes when the pot gets drier. Until those things are understood, leave the pump out of the project.
One test pot first
Choose a documented moisture probe and a compatible low-voltage reader. Put it in a separate test pot containing the same growing medium as the plant you care about. Fix its depth and position. Moving the probe is a change to the experiment.
Record the raw reading alongside the pot's mass and watering times. Follow several wet-to-dry cycles rather than naming a threshold from one afternoon's observations.
A useful display can show the current reading and its recent direction without pretending to know exactly what the plant needs. Different soils and probe placements may need different interpretations.
Keep the electronics above the pot, away from spills. This version reports only. If the readings do not track anything useful, revise the setup before giving it control of water.
Materials
- Documented moisture probe and compatible reader
- Separate test pot and growing medium
- Kitchen scale for repeatable comparisons
- Low-voltage supply and splash-separated enclosure
Build Steps
- 1
Fix the probe position
Mark depth and location in a separate test pot.
- 2
Record several cycles
Log raw readings, pot mass, and watering times.
- 3
Keep decisions manual
Evaluate the evidence before considering any actuator.