Four Open-Source Electronics Projects Worth Your Next Weekend
Published October 3, 2026
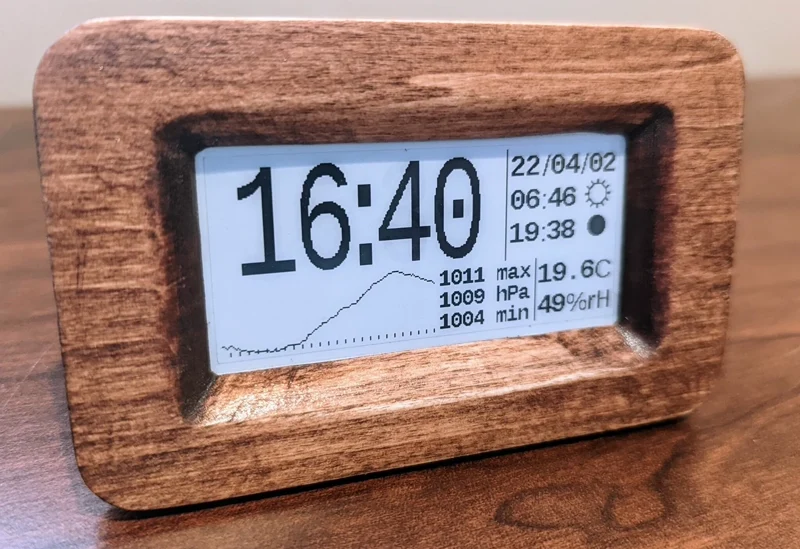
The original e-paper clock build by mattwach. Repository photograph, reproduced under Apache-2.0.
Photo credit
images/clock_front.jpg
mattwach · Apache-2.0Resized without cropping and converted to WebP for the project card.
Compare a Wi-Fi weather station, an Arduino MIDI sequencer, a GPS e-paper clock, and CNC-milled PCBs, with complete writeups credited to their original creators.
The most useful electronics project is often the one you can imagine keeping switched on after the experiment is over. A clock you glance at. A sequencer you actually play. A tiny display that saves you reaching for your phone. Or a workshop process that lets you make the next circuit yourself.
These four builds have something better than a nice finished-object photograph: their creators published documentation you can follow and modify. We have republished the complete, explicitly licensed project READMEs, with the original authors credited and the design-file links retained. This comparison is a separate selection guide. It helps you decide which instructions to open first.
Details and photographs come from the original creators, not our own testing. Firmware, CAD files, additional manuals, and updates remain available through the source links.
Choose by the Thing You Want to Make
| Build | Best reason to pick it | What to plan for | Start here |
|---|---|---|---|
| ThingPulse weather station | A compact, connected OLED display | ESP8266, supported display, Wi-Fi, and a weather-service API key | Complete weather-station README |
| Aciduino V2 | Physical buttons and a knob for making musical patterns | A supported board, the matching wiring and firmware port, and a MIDI sound source | Complete V2 README |
| GPS e-paper clock | A readable desk object without a Wi-Fi dependency | E-paper module, environmental sensor, GPS reception, and a choice of power architecture | Complete clock build |
| CNC PCB milling | A repeatable process for producing your own circuit boards | A suitable mill, tooling, calibration, safe material handling, and design software | Complete PCB-milling guide |
If you are choosing a first electronics project, the weather station has the clearest software-library starting point of this group. If you already solder comfortably and want an object with a proper enclosure, the clock offers a more involved build. The milling guide is a different commitment altogether: its value is in learning a manufacturing process, not assembling one small gadget.
A Tiny Weather Display That Earns Its Desk Space
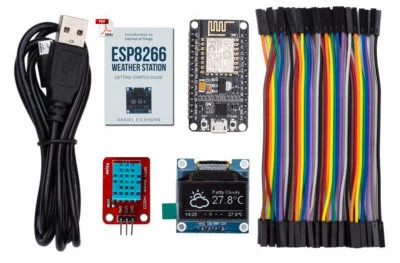
Photo credit
resources/ThingPulse-ESP8266-Weather-Station.jpeg
Daniel Eichhorn, ThingPulse and contributors · MITResized without cropping and converted to WebP.
Daniel Eichhorn and ThingPulse's ESP8266 Weather Station uses a NodeMCU V2 ESP8266 module and a 0.96-inch OLED display as its recommended starting hardware. The original README walks through installing the Arduino libraries, opening the demonstration sketch, and supplying the network and OpenWeatherMap configuration.
The distinction worth catching early is where the weather comes from. This is a display for fetched data. It does not become a backyard measuring station merely because its screen shows the forecast. That makes it a good fit for someone who wants to learn network requests and display formatting without first building a weatherproof sensor enclosure.
It also makes the service notes part of the build. The README records the move away from Weather Underground and a later OpenWeatherMap deprecation. Treat those historical statements as context, and check the service's current requirements before choosing a provider or paying for anything. A working display depends on more than a successful compile.
Read the full ThingPulse writeup, including its setup, module descriptions, and upgrade notes. The documentation is reproduced under MIT, with the original permission notice retained.
Aciduino: Build Something You Can Play
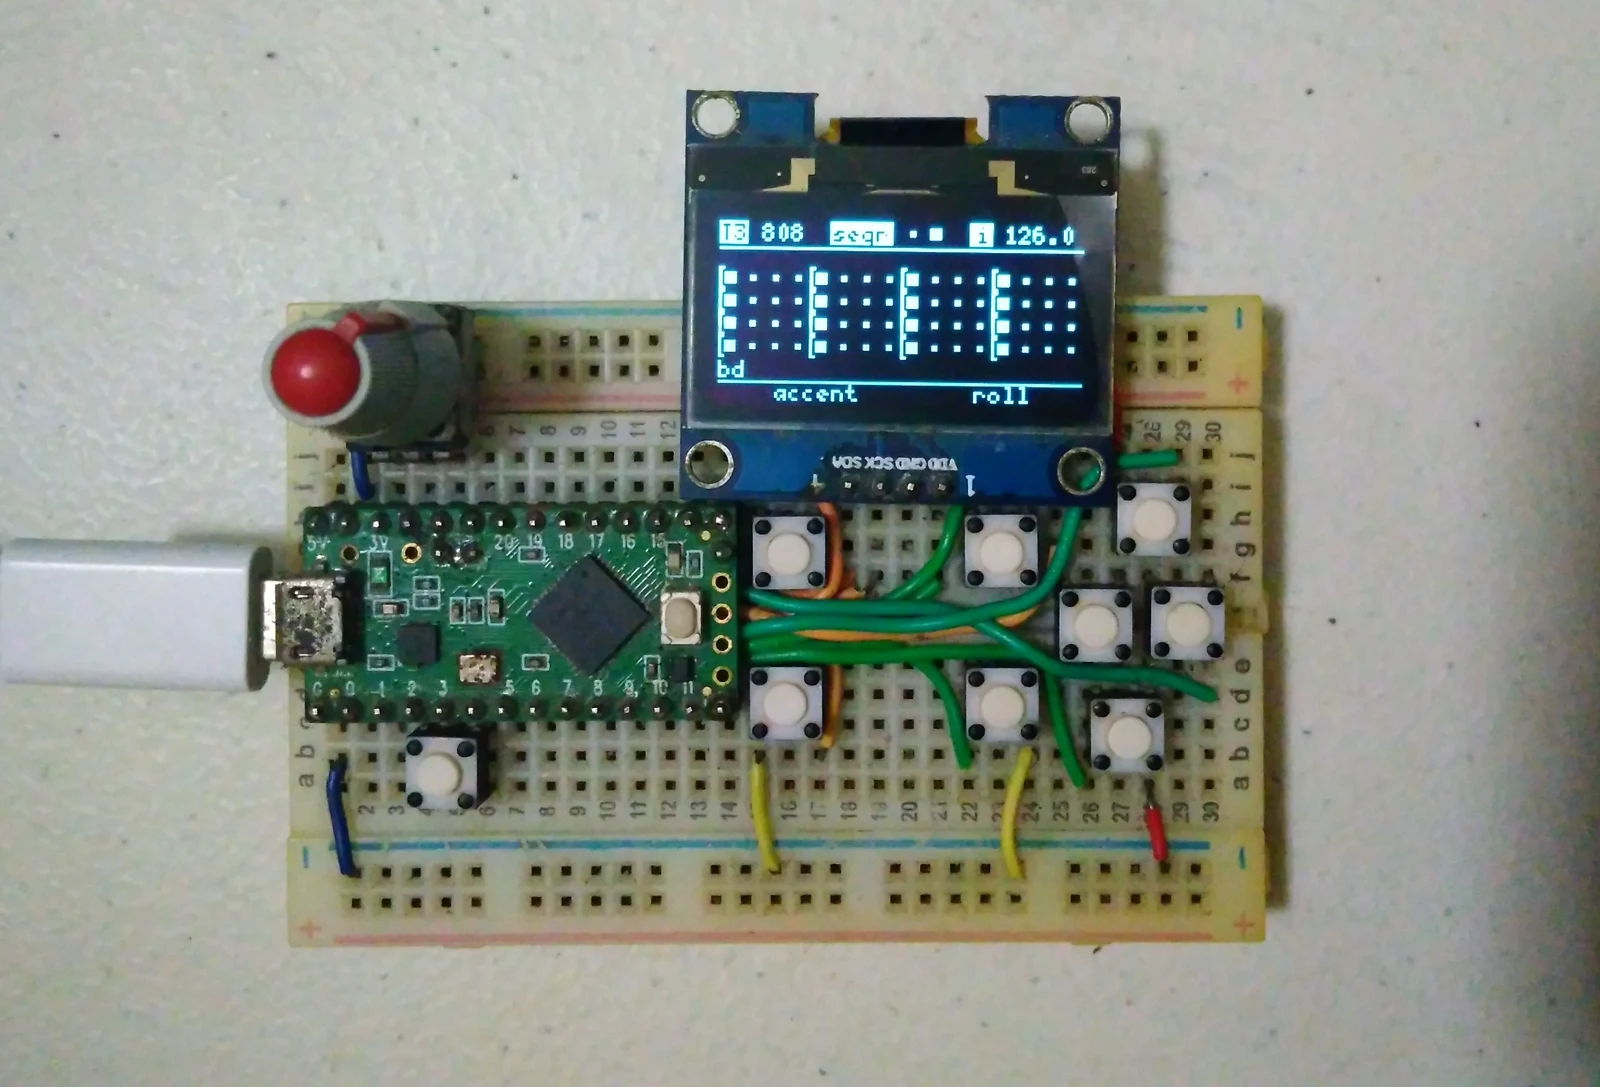
midilab's Aciduino V2 is a step-sequencer project with a physical interface: buttons, an encoder, and an OLED display. Its README lists support for Arduino Mega, Teensy boards from 3.2, and an ESP32 Wroom development-kit configuration.
This is the option for someone who wants the circuit to become a musical control surface. It is important to distinguish a MIDI sequencer from a complete synthesizer. The sequencer supplies musical control; you still need a compatible destination that produces sound, along with the connection appropriate to your setup.
The V2 instructions include the repository's submodule initialization command and the firmware port selection. Those are not administrative details to skip. If the libraries are missing or the sketch selects a different board's port, a correct-looking assembly can still leave you troubleshooting the wrong problem. Start with one documented configuration and keep its wiring and software together.
The original README also links the user manual, which matters once you move from getting the screen to light to actually using the sequencer. Its assembly photographs and alternative layouts are preserved in the full Aciduino V2 writeup. Credit belongs to midilab; the documentation and included repository images are reproduced under MIT.
The E-Paper Clock Makes Power a Design Choice
mattwach's e-paper clock and weather station takes a different approach from the Wi-Fi display. GPS sets the time, and a local sensor provides temperature, humidity, and pressure information. The documented design does not require a network connection.
The two main paths make the project particularly useful to study. The simpler version uses an Arduino Nano and USB power. The low-power version uses a bare ATmega328P and a 32 kHz crystal, with hardware changes intended to reduce wasted current. The guide also documents a Pro Mini variation, firmware upload, and enclosure fabrication.
It is tempting to choose the battery-powered version simply because it sounds more polished. Read the power-budget section first. The author's calculation changes substantially when an LED and a GPS enable pull-up are removed. The headline battery-life estimate belongs to that particular configuration and operating schedule; it is not a guarantee for a Nano, a different GPS board, or an unmodified assembly.
The complete e-paper clock guide includes the original schematics and fabrication photographs, credited to mattwach under Apache-2.0. Component prices in the original text are historical, not a current shopping quote.
CNC-Milled PCBs: The Project Is the Process
The longest writeup in this collection is mattwach's CNC PCB Tools. It follows an end-to-end process using a 3018-class machine: design constraints, G-code preparation, checks, machine setup, height mapping, isolation cuts, drilling, and finishing.
Its central lesson is that cutting depth deserves as much attention as the circuit design. The guide explains how a height map samples the copper surface and how the author's adjustment tool shifts those measurements. It also preserves unsuccessful-bit comparisons and the reasoning behind the author's preferred choices. Those details make it much more useful than a photograph of a mill beside a finished board.
This is not the inexpensive shortcut to choose merely because a CNC machine already sits in your cart. Plan for appropriate tooling, consumables, a controlled workspace, and the machine's safety requirements. The original guide's chemical-finishing section also needs to be read alongside the actual product's safety information. Its timings, costs, and tolerances describe the author's experience with that setup.
If you already own a suitable mill, the most useful first target is the small documented test process. Establish that probing, clearance, and cut depth behave predictably before committing a complicated design. The full PCB-milling guide retains the original screenshots, process photographs, code examples, and tool links. It is credited to mattwach and reproduced under Apache-2.0.
Keep the Creator in the Loop
These are source snapshots, not newly invented projects. Each project page names its original creator, links the exact source revision, preserves the license, and distinguishes our selection notes from the imported instructions. Updates, issues, contributions, and any purchases supporting a creator should go through the original project.
Choose the build whose constraints fit your bench. Already tried one? Share the board version, the change, and what happened in the comments below.
Comments
Member comments are temporarily unavailable.
Log in to join the discussion.